Alternate Fog Techniques
 While building curved turnouts, I discovered the technique I had used to create the frog point worked better on sharper turnouts but didn’t work as well for gentle angles/curves. Several attempts to file and bend the frog resulted in the rail breaking. I made the best of a bad situation and developed the following technique which resulted in sharper, more accurate frog points.
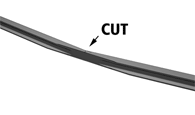
After filing the bent rail (as outlined in the turnout articles) I purposely cut the rail at the thinnest point.
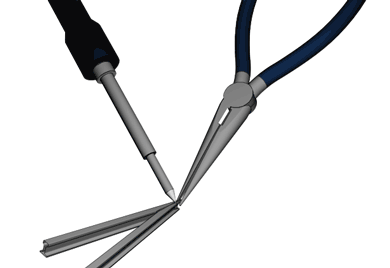
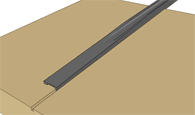 I filed the point angle on the wooden jig and extended the length of the angle so that the rail now resembled a turnout point. Repeating the same procedure for the other frog rail, I clamped the two points together using a pair of needle-nose pliers at the very tip of the two points. I adjusted the angle until it closely matched what I needed, and then applied a very small amount of solder at the tip of the frog. I then gave the frog angle a few minor adjustments before soldering the entire assembly solid. The resulting frog had a longer point than necessary, so I simply filed the difference away, and in the process sharpened the frog to a tidy point.
Nesting Points
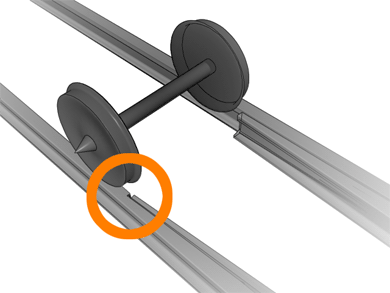
Although I did my best to ensure that my points were razor-sharp and rested snugly against the stock rails, the rear trucks on my rolling stock continually jumped over and travelled down the wrong path. Hence, I learned that all point rails must seat themselves in a notch filed in the stock rail as deep or deeper than the end of the point. A fairly straightforward exercise, it is certainly easier to file this notch before assembling the turnout as opposed to after!
