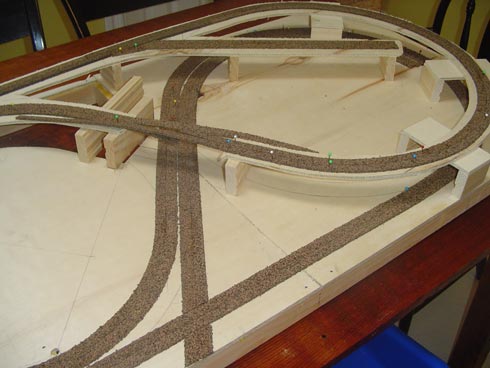
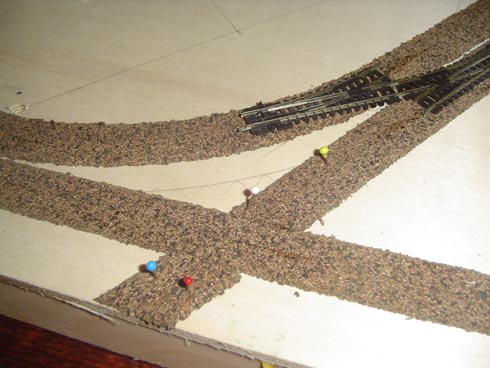
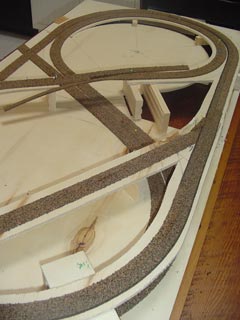
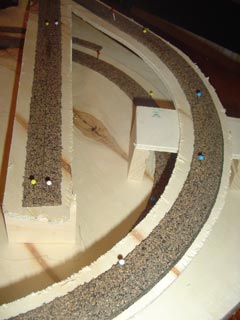
I decided to use traditional cork roadbed for my N scale layout as I was anxious to start laying track. However, if given the choice I would have likely selected some other product as I found that cork roadbed has a number of issues. I installed the cork roadbed traditionally; applying a thin layer of glue on either side of the previously marked centre lines, and then pressing the roadbed into the glue and temporarily securing it in place with push pins. What I found as I was installing the roadbed was that the cork had a tendency to ripple on the tight radius curves, thus it became necessary to add a great number of pins to keep the roadbed flat. Likewise, when you split the cork into its respective halves, the ‘break’ edge doesn’t always come clean, leaving a coarse burr of cork that needs to be filed or sanded down. Also, cork is quite dense, and as such, it tends to transfer noise easily. This is likely no issue if you are constructing a railroad that used a sub roadbed of homasote or foam, but in my case, I was applying the cork directly onto the plywood. I’ll have to wait and see how loud it gets!
Finally, when installing the cork on a curve, I found it easiest to install the roadbed on the inside of the curve first, as once installed, all I needed to do was form the outer piece along the first piece’s edge.
I managed to install the roadbed in two evenings ‘ I would have been one evening, but I ran out of push pins. I left a great deal of overlap at the bridge area as I have yet to decided what I’m using for a bridge!