It’s been a while since my last post – life is good, but VERY busy!
I mentioned in an earlier post that I had been struggling with roads – I didn’t want them to appear as an afterthought. In many cases, roads seem to be ‘eyeballed’ into place with little regard for the landscape topography, and are oftentimes given a lesser purpose then they deserve. I’ve decided to build the WGR’s roads much like you might lay track, building the shoulders and hardtop first, and then defining the scenery around them.
I decided to use foamcore as my road-base as it would elevate the road three scale feet and allow me to build properly sloping shoulders. I was surprised to find that after factoring in shoulders, lane widths etc., that roadways are much wider then imagined. I’m modeling a 2-lane highway and the width is equal to many 4-lane models!
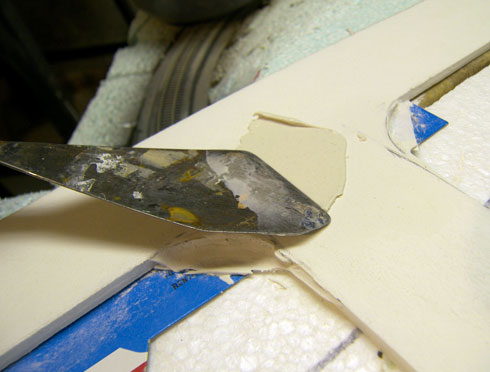
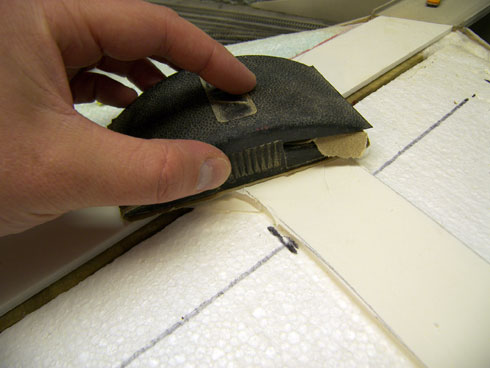
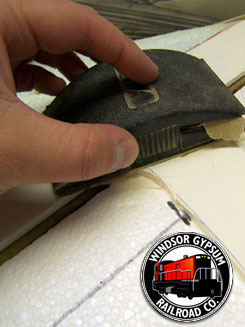
After securing the foamcore to the baseboard with hot glue, I filled in all the seams with successive light coats of drywall mud (spackle) – sanding between coats. You need to be careful when sanding as you risk ‘pilling’ the paper surface of the foamcore.
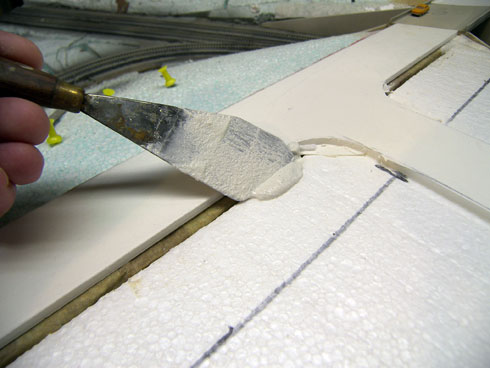
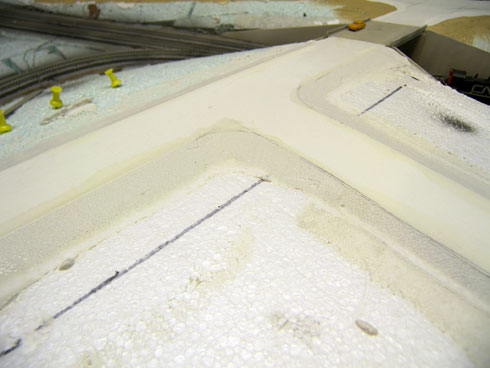
Once the spackle had dried I built up the shoulders around the road using white sanded grout. I’ve never used grout as a scenery material before and I’m already thinking I should have used a coloured grout as I risk churning up white dust if I need to drill through the shoulders. That being said, I’m quite pleased how the results turned out. The texture is a little course for gravel shoulders, but I’d rather have the texture too course than too fine. As well, a few coats of paint should help smooth the surface somewhat.
I’m interested in using grout more throughout the layout as it allows you to work slowly and creates a fairly hard surface – albeit somewhat brittle. I’m not convinced that it adhered well to the foam, but the addition of some adhesive to the mix may remedy this.
