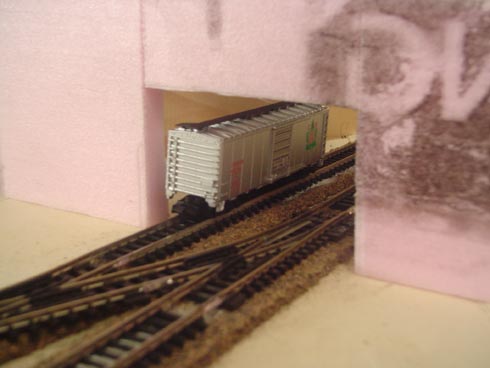
After considering the different bridge types that I could use for the overpass, I decided that a generic concrete structure would best suit the era and region I was attempting to model. I was certain that I could probably build the overpass out of extruded Styrofoam; the challenge was that the upper track crossed the lower at about a 30-degree angle which meant the tunnel would have to be cut through the overpass at the same angle.
Here’s my solution:
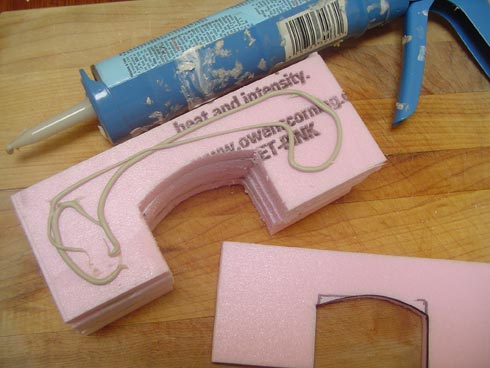
Using a scrap piece of Styrofoam, I eyeballed an appropriate height for the tunnel. As the clearance between the upper and lower track was minimal, I wanted to keep the tunnel portal as small as possible in order to make the overpass look beefier.

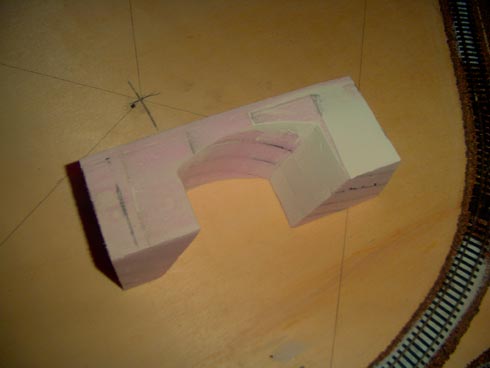
Satisfied with the dimensions of the opening, I rounded the top of the opening to create a simple arch. Happy with the shape, I sanded the edges smooth with an emery file, to create a master template.
I copied the template, gluing each successive later atop one another with some PL300 adhesive until the overpass was 4″ thick.
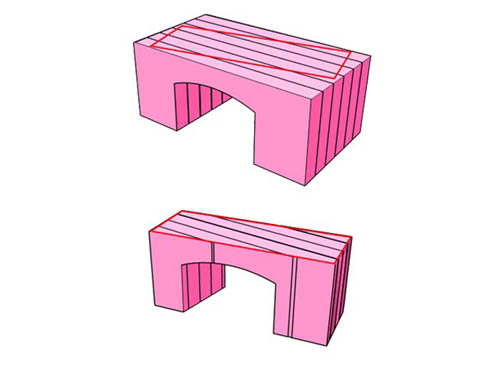
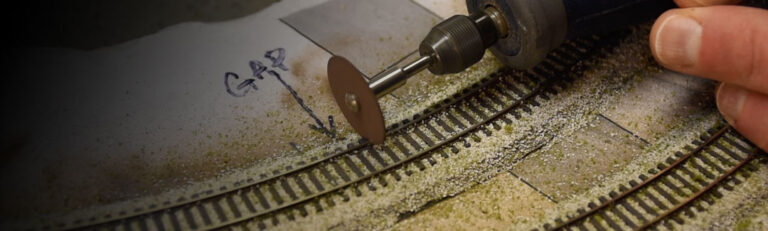
Once the glue had completely dried, I measured the angle that the upper track intersected with the lower track, and created a cutting guide based on this intersection. Using a fine-tooth cross-cut saw, I sawed off the excess foam around the guide, ensuring that each cut was perpendicular to each other and as vertical as possible.
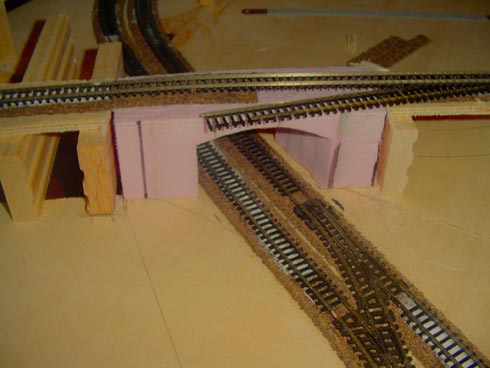
I adjusted the length of the overpass until it fits snugly between the risers.
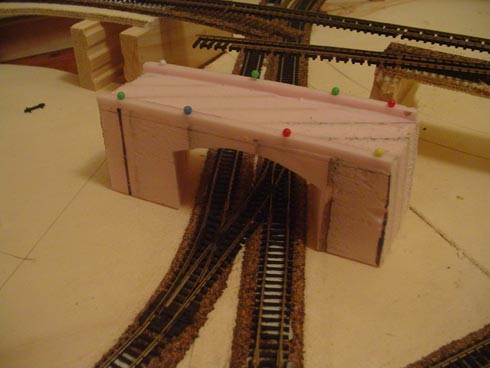
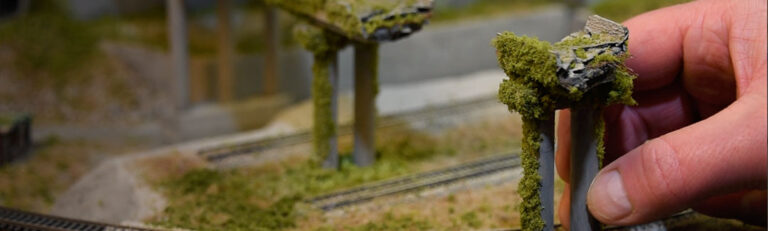
I added guardrails by gluing and pinning small strips of foam to the top of the overpass.
Once dry, I applied a thin coat of drywall mud to fill all of the gaps, sanding the entire structure smooth once the mud had completely dried.
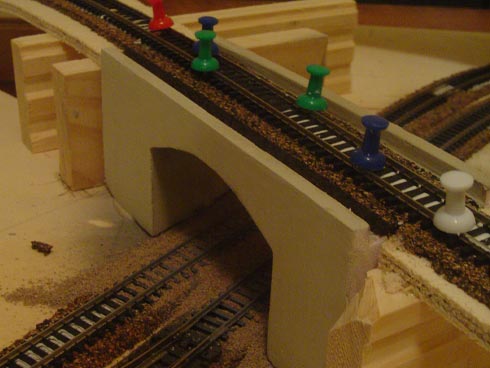
I applied a coat of concrete coloured paint, lightly ballasted the track, installed the overpass, and completed the remaining track work.