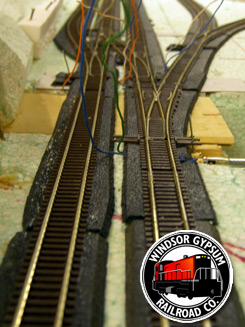
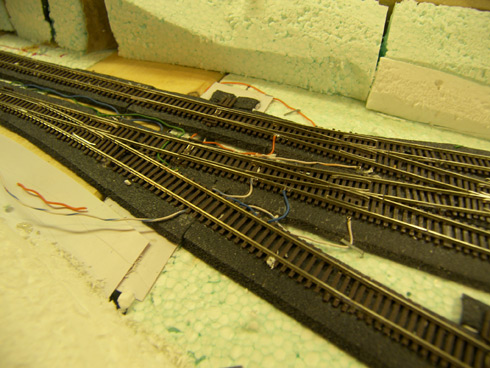
 One would think that a simple railroad like the WGR would be easy to wire – and I suppose it has been an ‘easy’ job, but it certainly hasn’t been a small job! Until I actually started soldering I hadn’t taken into account how much wiring I would need to do in order to wire each frog as well as isolate each spur. It has been more then I estimated.
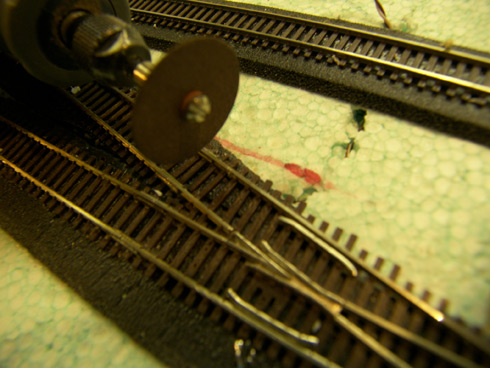
That being said, the job has been fairly straightforward and I’ve spent the last week leisurely completing each section. I wired the Atlas code 55 turnouts as per the manufacturer’s instructions – using the hidden slide switch designed to control the turnouts to power the frogs. I also isolated each spur on the pike by cutting the rails using a cutting wheel on my Dremel tool. I think I will use common light switches to control the different electrical blocks; the cost of half a dozen light switches, mounting box and faceplate is worth the same as a single toggle switch from Radio Shack. I’ve seen them used once before and they looked very handsome.
I didn’t bother to create separate cabs as I won’t be running multiple consists. Naturally, I could have simplified this entire process by having simply gone to DCC…
Next steps: Once the wiring is complete, I need to weather the track, install the bridges as well as the fascia. Once that is done I’ll be able to turn my attention to the scenery.


