 When I built the Niagara Escarpment System (my first N scale layout) I rushed the track and regretted the decision later. I didn’t bother to do a very satisfactory job weathering the rails – opting to give everything a quick spray of paint before ballasting.
I had been more concerned with the colour of the ties and overlooked the rails. The result was shiny rails that looked bigger than they really were – they stuck out like a sore thumb.
This time around I promised myself I would do a better job. The real kicker is that weathering rails is really simple, and only took a small part of an evening. A negligible effort for maximum result.
Weathering Rails:
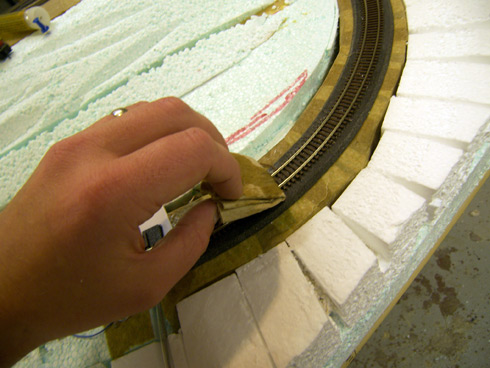
I dampened a paper towel with a bit of ‘3 in 1’ oil and gave the tops of the rails a quick wipe – only barely applying a kiss of oil. The oil acts as a resist and prevents the water-based paint from sticking to the railheads.
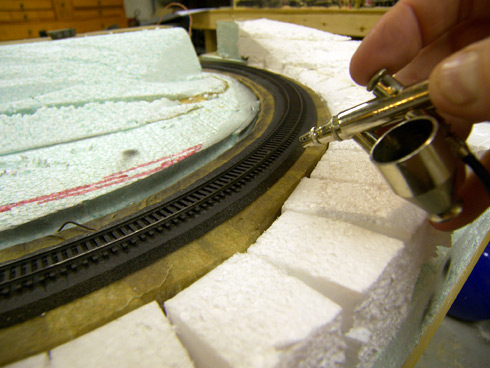
The first colour I applied was a dirty black – black mixed with a bit of tan. I used inexpensive craft store paints diluted with water. The first coat of paint is intended to paint the sides of the rails, thus, you need to ensure that the airbrush is aimed at a low angle just above the roadbed.
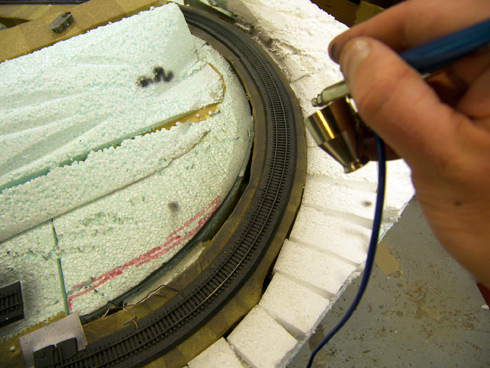
Once the first coat of paint had dried, I applied alternating coats of grey, tan and brown paint directly above the rails in order to avoid painting rail sides. This coat of paint is intended to weather the ties, so I applied the colours in a random fashion with varying intensities, until I had achieved a look I was satisfied with.
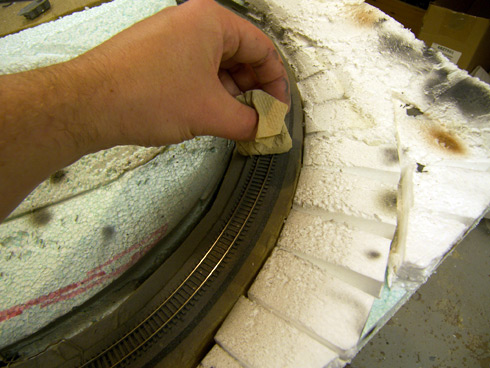
Once the paint had again dried, I gently polished the railheads with a clean paper towel – the paint rubbed away from the railheads effortlessly – thanks to the ‘3 in 1’ oil applied earlier.
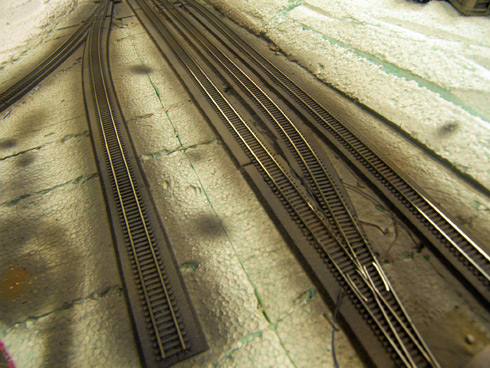
As you can see in this image, the shine of the rails has been reduced significantly, and the colours are muted and will hopefully blend with the ballast well. The different colours used on the ties/rails are evident in the overspray.
