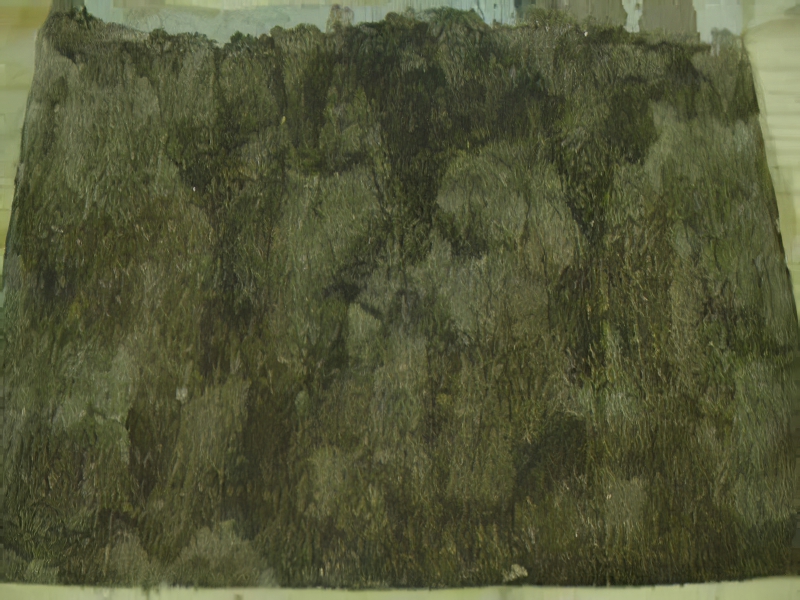
 With the barn structure built I was ready to start adding the siding and roofing. I had figured out how I wanted to model each, but have never tested either technique I thought it best to create a ‘test’ piece. As I wanted to add a structure to the right side of the layout, I decided to model an outhouse to try out my ideas.
In the end, I was very happy with the results, and I am ready to start sheeting the barn!
Building The Outhouse
I built the privy, in the same manner, I made the barn ‘ hot-gluing foam core to create the basic structure, and adding a flap of cardboard from a cereal box as a door.
Modeling Barn Boards
I first covered a piece of cardboard with a mixture of tan and gray paint ‘ rather than mix the two colours consistently, I opted to leave them as mottled a possible to give the card some colour variation. I sprinkled some fine ballast onto the wet paint ‘ ballast colour wasn’t important as I was going to use this as an abrasive. I then dragged a scrap piece of foam core across the surface of the card (in a uniform direction) until I had removed the majority of the ballast, and the surface of the card had numerous vertical scratches. Once dry, I rubbed off the remaining ballast with my fingers and applied a light misting of black spray paint to add some small black flecks. Again, I waited for the paint to dry and applied a thin blotchy wash of burnt umber oil paint and varsol to the surface of the card. I cut the card into scale boards and mixed them up ‘ reversing some of the board’s end for end in an attempt to hide all seams. I painted the privy flat-black and attached the boards one at a time with white glue ‘ making sure to leave a small gap between each board. Once the glue had dried, I weathered the structure with some real dirt, applied some Testor’s Dullcote, and dusted on some fine green ground foam to represent moss.
Modelling Corrugated Steel Roofing
I cut some heavy tinfoil into scale siding pieces approximately 2×8 feet in size. I laid the foil on a soft piece of pine and placed a large bolt atop the foil at one end. Using a piece of hardwood as a pressure block, I pushed down firmly on the bolt with the block of wood and rolled the bolt along the length of the foil. The threads of the bolt dented both the foil and the wood, creating the characteristic corrugated pattern. I sprayed the individual roofing pieces with black/brown/red oxide spray paint to create a dull weathered look. Once the paint was dry to the touch, I dragged a rag along the surface of the foil and removed some of the paint ‘ exposing the foil beneath. I hot glued the sheeting to the roof, and applied alternating coats of dirt and dull cote for weathering.


