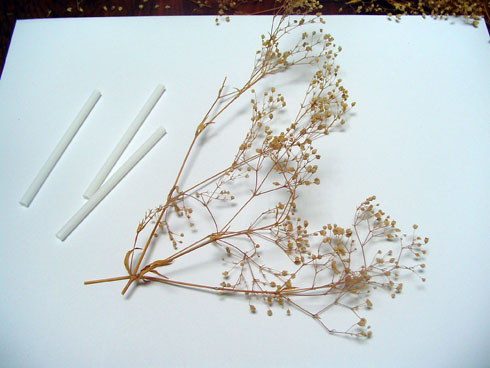
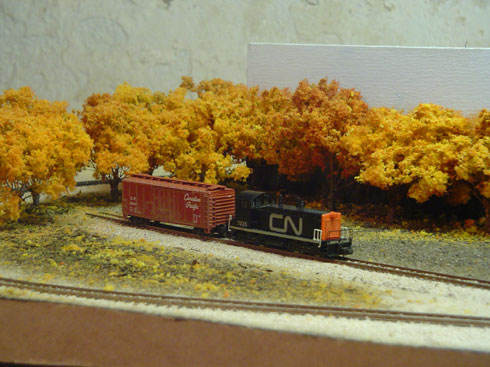
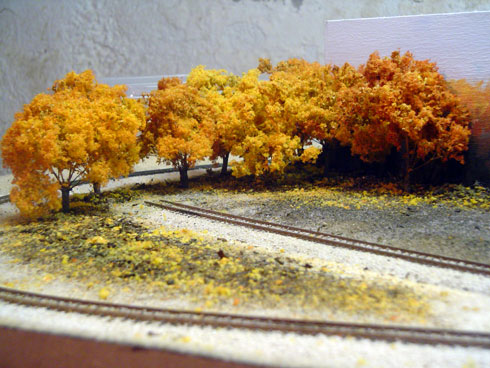
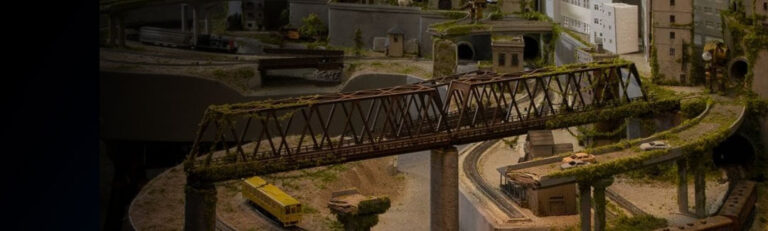
I’ve spent the last few months trying to develop a technique for modelling fall trees that is effective, easy and cheap. The large maple tree I modelled for my Pete’s Pumpkins layout confirmed that I had finally settled on a process that was simple and effective, and I’ve started adding some hardwoods to the one corner of the Niagara Escarpment System. The key was in finding suitable dried floral stems that best represented the branch structure of the native deciduous trees. I found many samples that looked good for branches but lacked decent trunk structures until I noticed a package of cocktail straws at the dollar store!
The process is as follows:
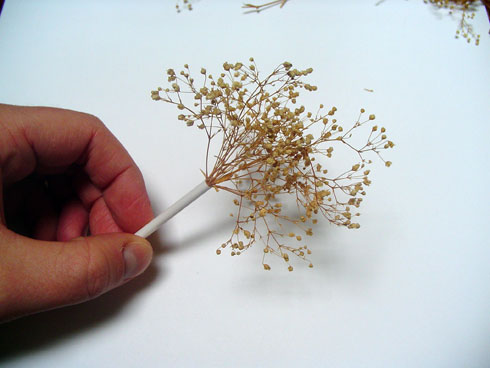
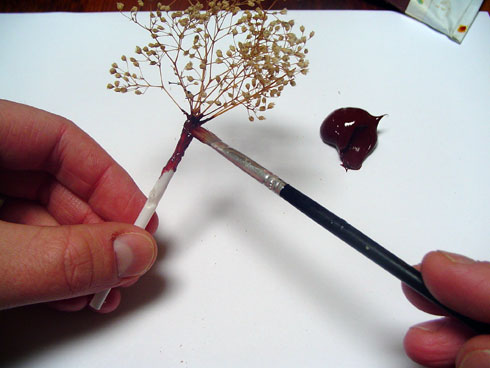
- Trim a number of stems from the original floral sprig and insert them into the cocktail straw creating the desired tree shape
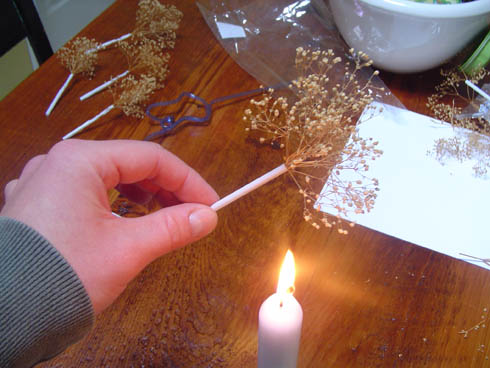
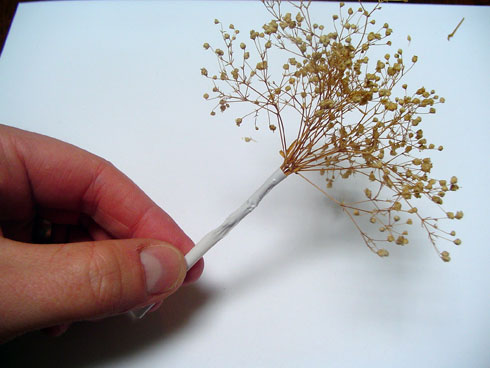
- Carefully apply heat (in my case a candle) to the straw until it starts to melt, and then quickly roll it back-and-forth between your fingers to create a tight, wrinkled trunk
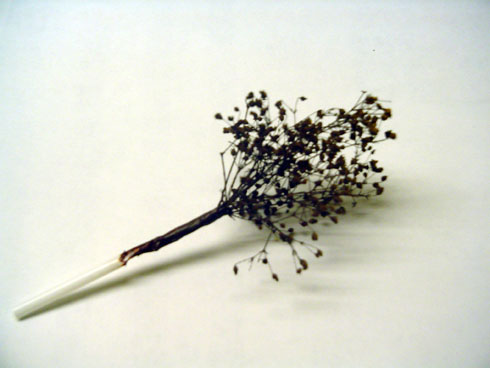
- Trim the tree to shape
- Apply a coat of thick acrylic tube paint to the base of the branches to smooth any rough areas and fill the holes at the top of the trunk
- Spray the entire tree with flat black/grey/brown paint
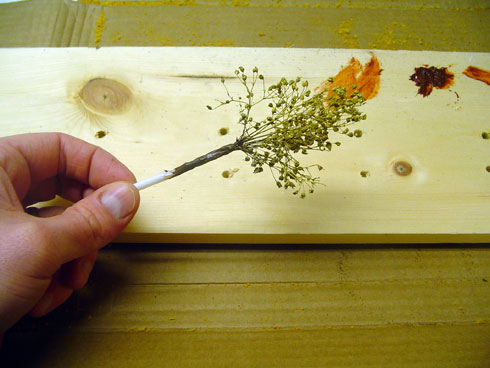
- Mist the head of the tree with light coats of yellow paint and immediately apply suitably coloured ground foam
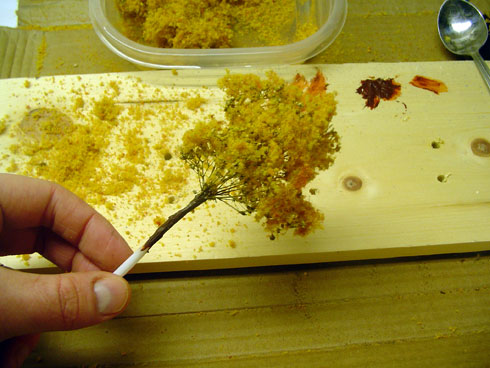
- Add successive coats of hairspray and ground foam until the desired density and colour is achieved
- Overspray the tree with quick blasts of red oxide primer to add colour variation
- Touch-up with the trunk by dry-brushing highlights onto it
The set of trees seen in the following photo took two evenings to build at an average of about a half-hour per evening.