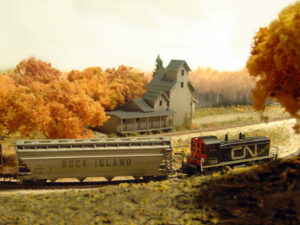
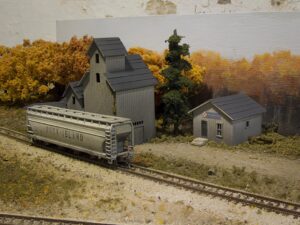
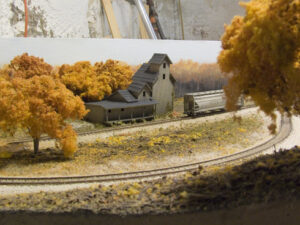
From the beginning of this project, I have always promised myself that I would strive to find the easiest/simplest way to do something – and keep mess-making to a minimum! Hence, when I started building the scenic contours on my n scale Niagara Escarpment System (NES) model railroad, there was no way I would use any sort of lattice-webbing-plaster-soaked-paper-towel technique. Rather, I decided to create the landforms using the ever-popular technique of stacked extruded Styrofoam sheets. Typically arranged in a wedding cake fashion, the Styrofoam techniques allow you to build landforms quickly, carve contours, and sand imperfections, all the while offering incredible structural stability.
In my case, I needed to create some rolling hills, as well as some rock bluffs in an attempt to capture some of the geographic essences of the Niagara Escarpment region. Depending on whether or not the landforms were being stacked atop the hidden tracks or not, I either built the hills as solid masses of Styrofoam or used small blocks to created elevated areas with open cavities beneath (for inevitable later access).
I opted to use the half-inch think pink foam for all of the construction, and I found many benefits to having selected this thickness of the other available sizes. Firstly, cutting the foam is a snap ‘ literally. You simply need to score the foam about ½ inch deep with a sharp knife and bend it along the cut and it will snap clean. Likewise, after hearing about all of the dust created from slashing away at the foam with an old steak knife of rasp, I bought a package of utility knives; the ones that have the thin blades that you can extend about 3 inches. These knives easily cut through the foam cleanly. I was able to shave the majority of landforms smoothly just using the knife. (Buy a pack of blades ‘ they do tend to dull quickly.)
I used PL300 adhesive to join the foam, and I shoved in 1-inch finishing nails to keep things in place while it dried. As I worked, I installed the backdrop/view block, fastening it in place with hot glue and wood scraps. I didn’t make the backdrop overly high, as I envision this model railroad being shoved behind the furnace etc. for storage, so the shorter the overall height, the better. After two casual evenings of work, I had all of the terrain roughed in.


0 thoughts on “Landscaping With Foam”
Richard Corden says:
Funny you mention the pink foam, I’m off to rona or home depot this weekend to get some myself. Been watching a series on Youtube how to make rocks and rocky scenery. Check it out.. I’m sure you will find it interesting.
If you havn’t already.
http://www.youtube.com/watch?v=D1D4KBB_GC4
Richard
Model Railroader says:
I watched that series and was impressed! If anything – I probably lack the patience to carve all those rocks!
Flash says:
In my area we’ve used foam a long time. I won’t get into the arguments for or against cause it usually causes arguments with the purists, but I have helped my local dealer build lots of layouts over the years and have built em from the ground up out of foam.I use it for everything as I’m not a carpenter and don’t have time and plaster is messy. Also when I tore down my first RR in 1980, I found mold in them mountains. Suffice it to say I cut it, glue it with a 40watt glue gun recut itpop it up or down, glue it again, shape it and paint it. AS rocks go, I let the dog play with a piece of foam. sweep up the bits and glue em in place and start paintingstarting with a dark grey and progressivley go lighter shades and lighter strokes till i get the affect i want
Tomas Keri says:
Very nice tecnique. With your permission i would like to try on my layout. I have a question though, I need to get at least 1.75 inches (optimally 2″) on 48″. Is that to steep (about 4%). What is the minimall clearance for tracks crossing over tracks.
Model Railroader says:
Hi Tomas – 4% is considered the maximum allowable grade – I had a 4% grade on this layout and it worked well. Thanks.