Having laid track on a small number of other projects, I’ve experienced enough frustrations to know how I wanted to proceed on the D&DR. You learn that smaller designs haven’t much wiggle room – my previous approaches for measuring track work required string compasses and rulers. This technique provided reasonable estimations but never accurate results. I would struggle with turnout placement and inside curves that were simply too tight.
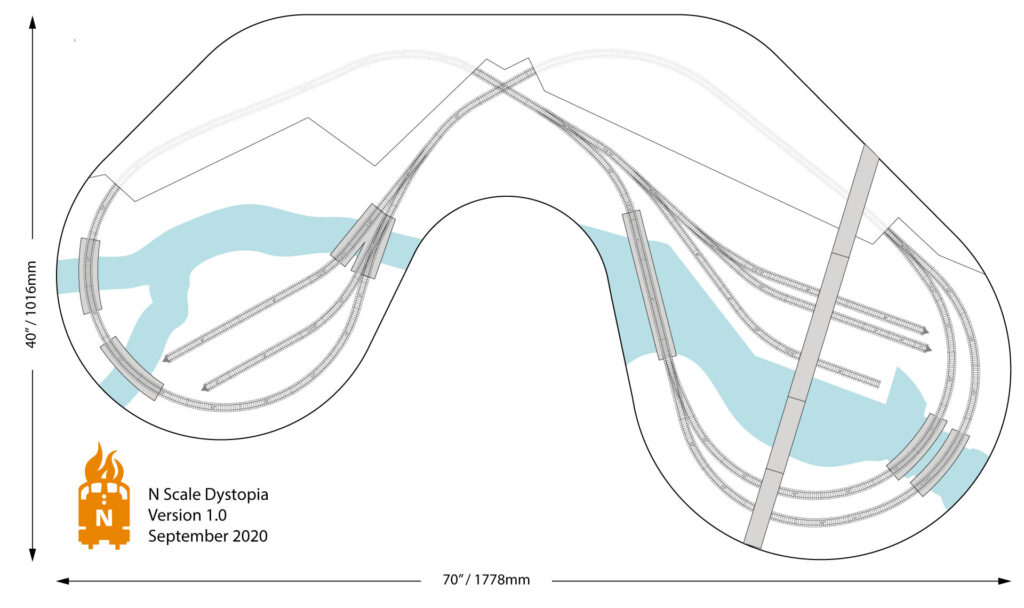
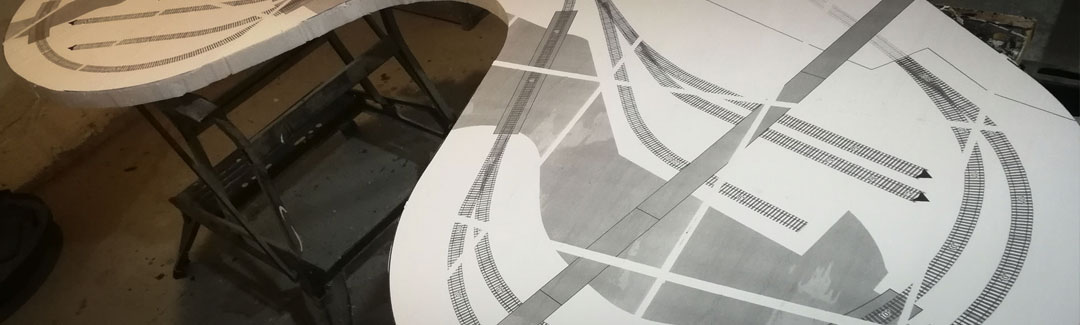
I designed this track plan using the Atlas Model Railroad Track Planning Tool – meaning I knew the cad was 100% accurate. I’ve used the atlas software before, but I typically make mistakes when I attempt to transfer the track plan using manual methods.
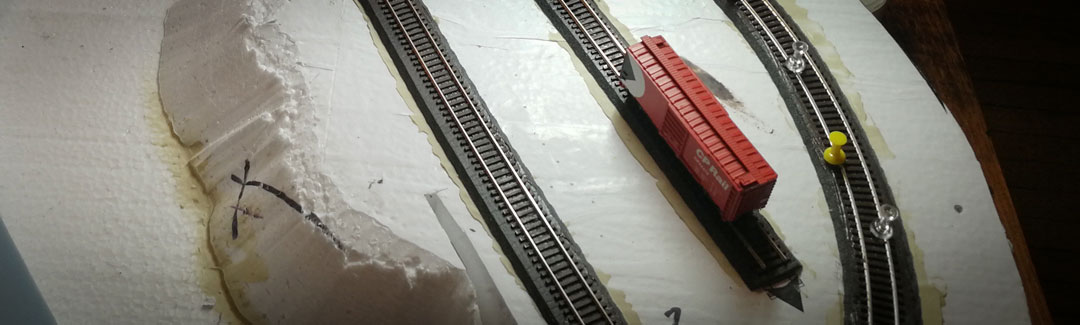
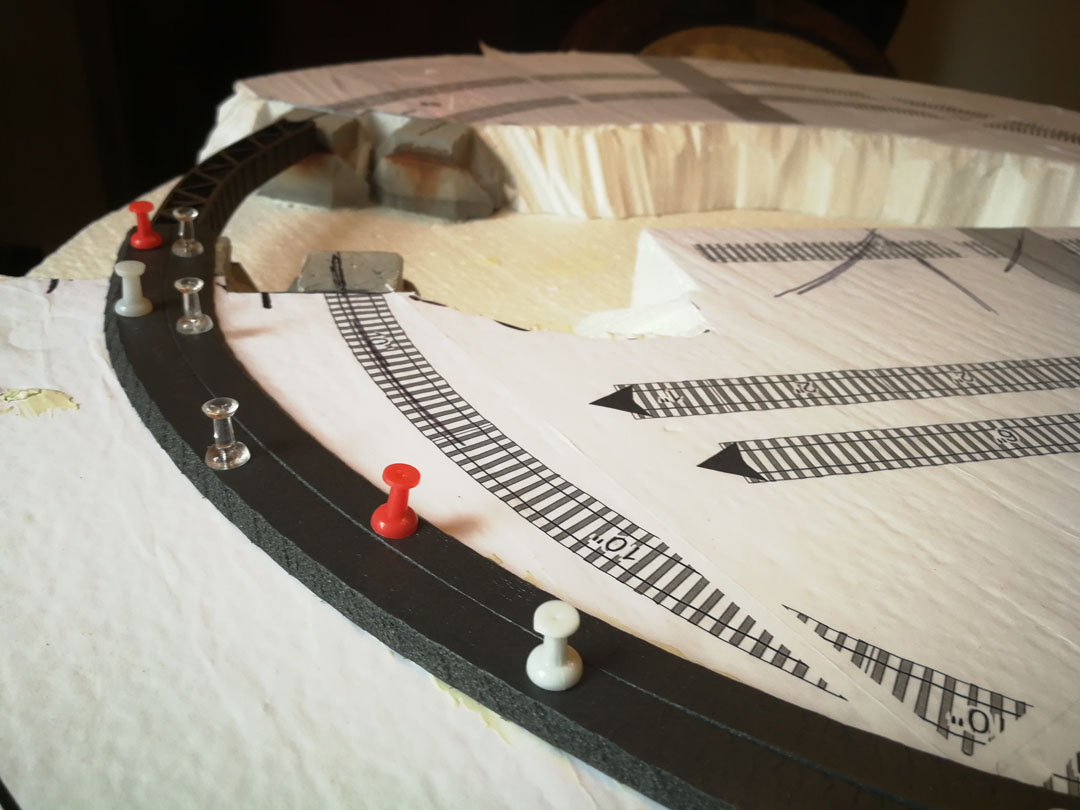
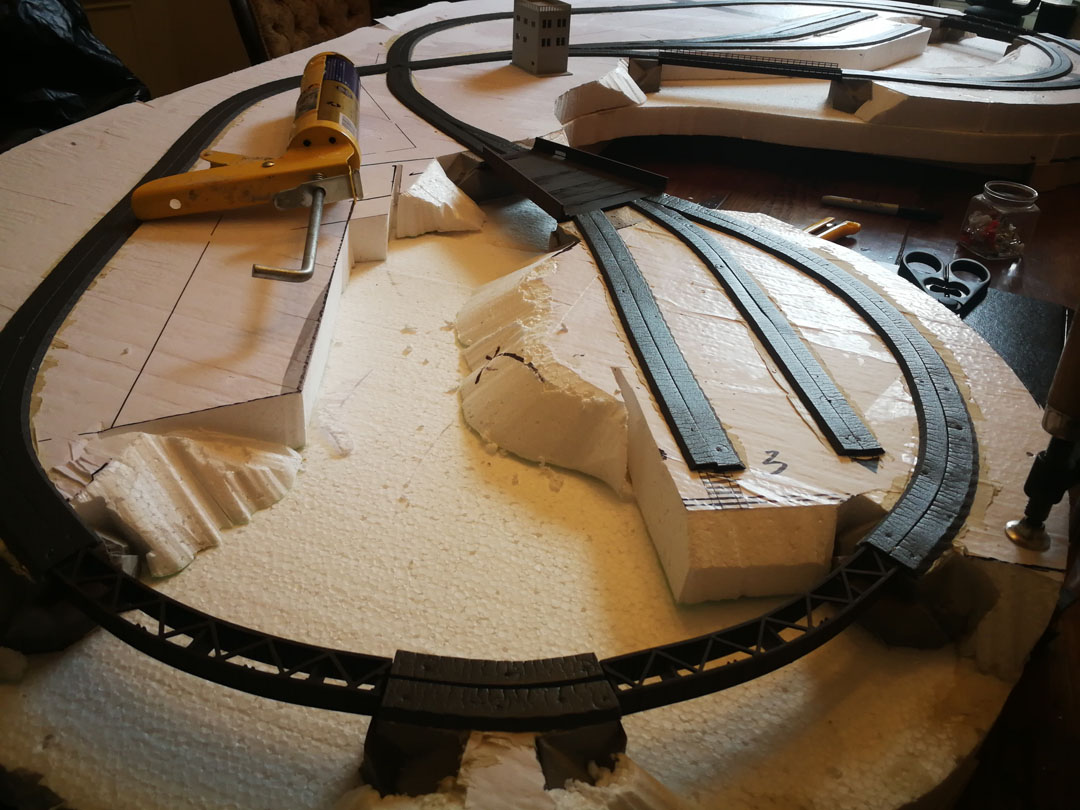
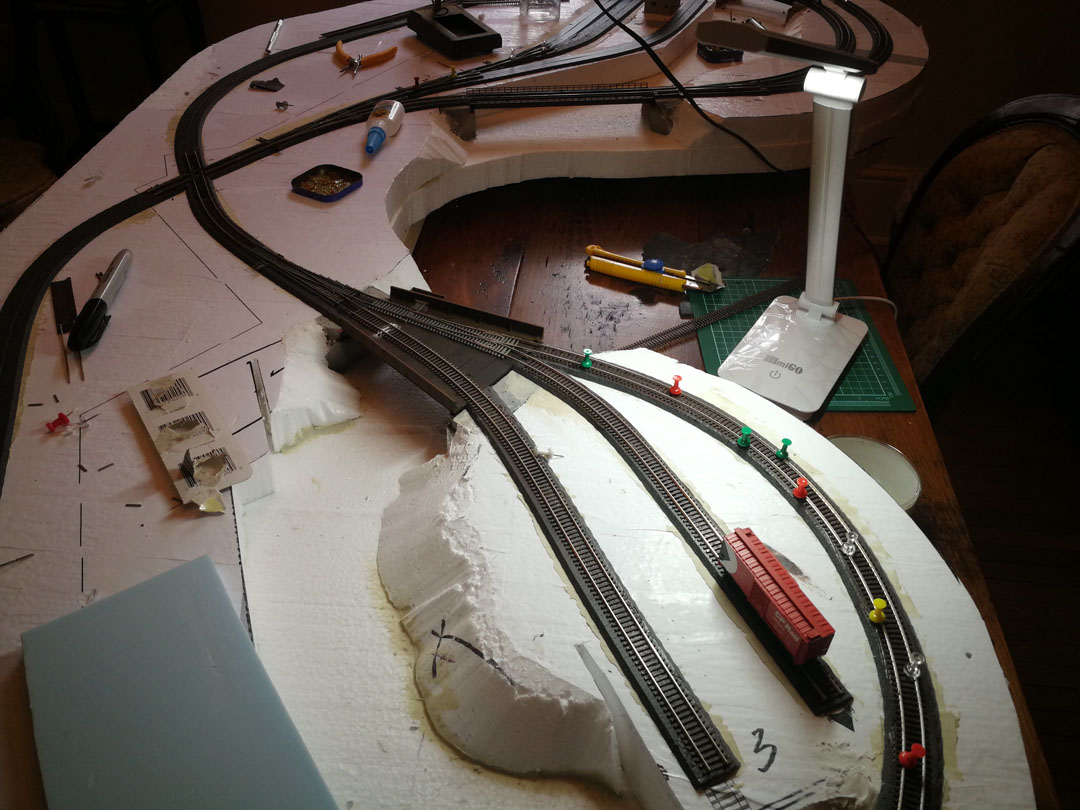
Having glued the track plan’s tiled printouts at 100% scale, I adhered the roadbed directly on the track centerline. I trowelled on a thin coat of liquid nails with a small palette knife, pressed the roadbed into the glue, and then tacked everything in place with push pins. The form roadbed is more forgiving than cork and can be bent and shaped without breaking.
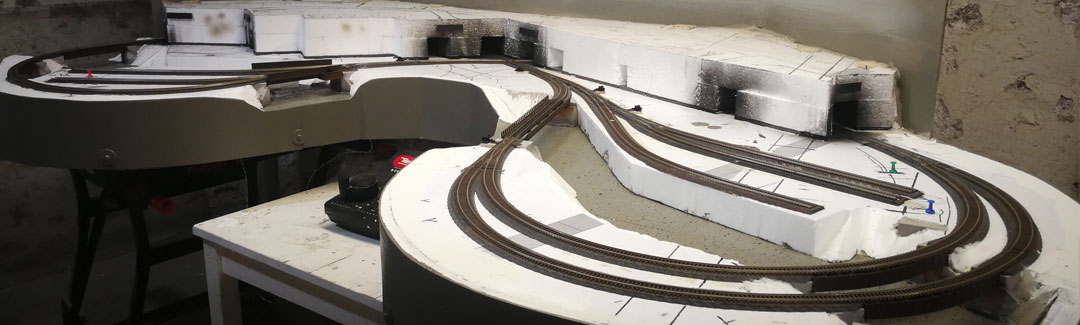
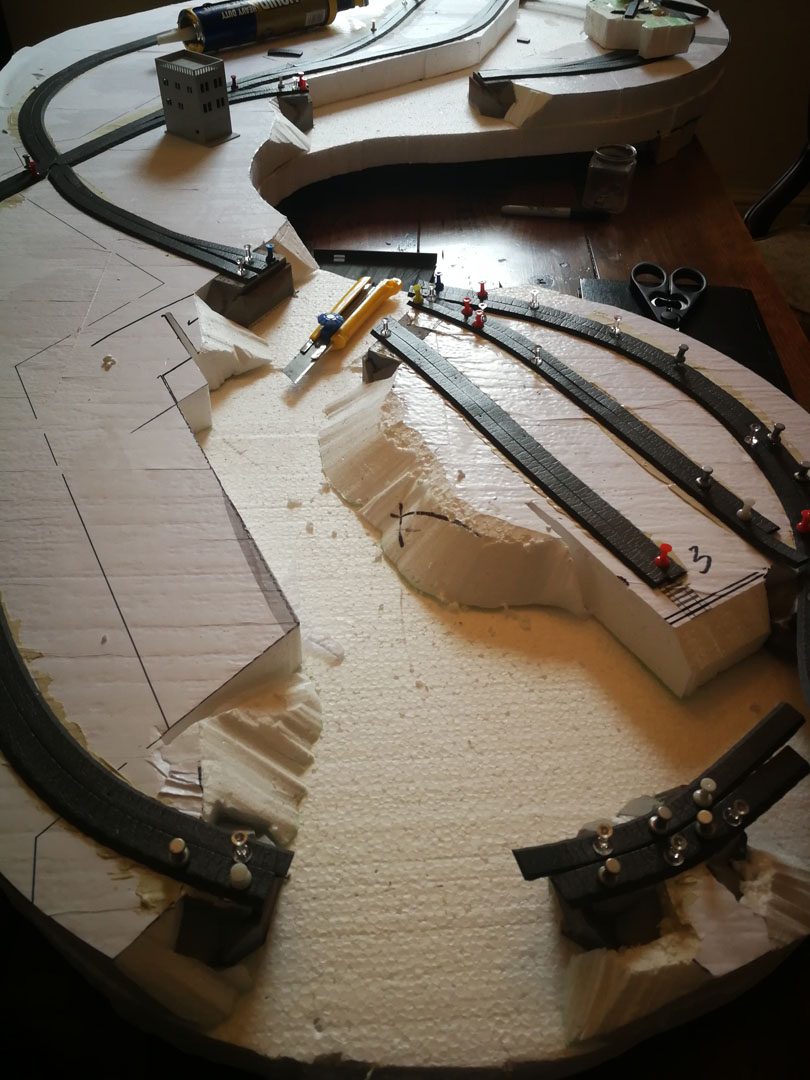
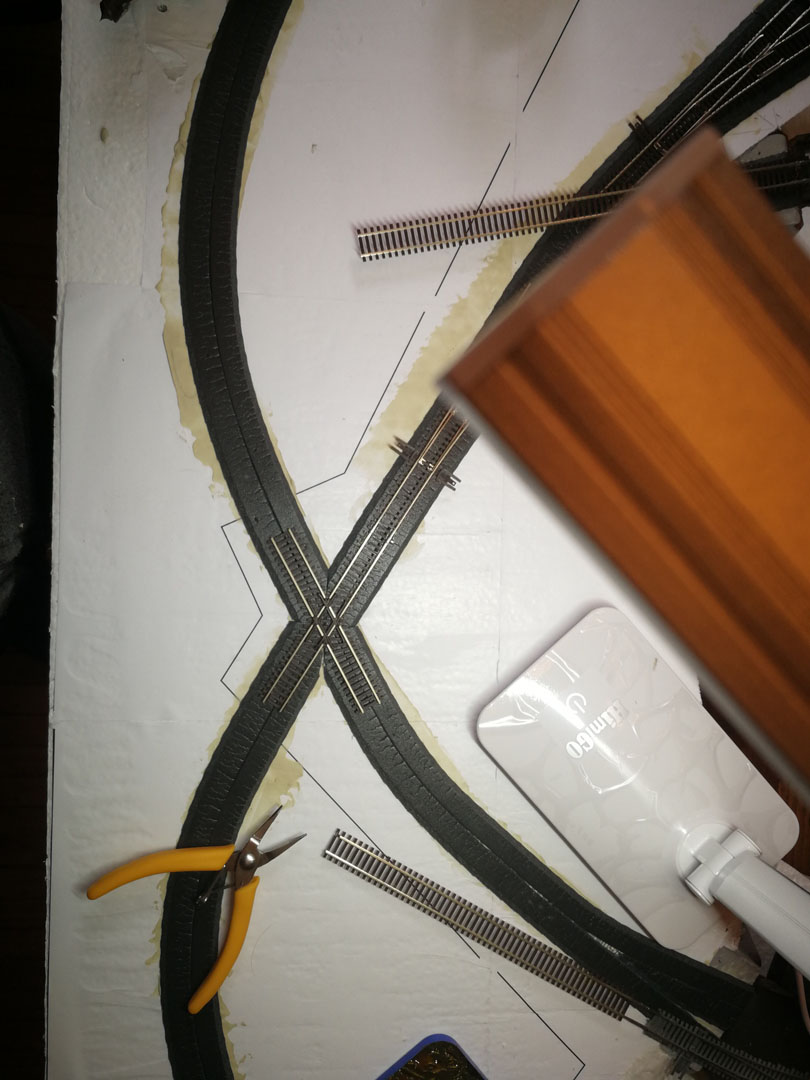
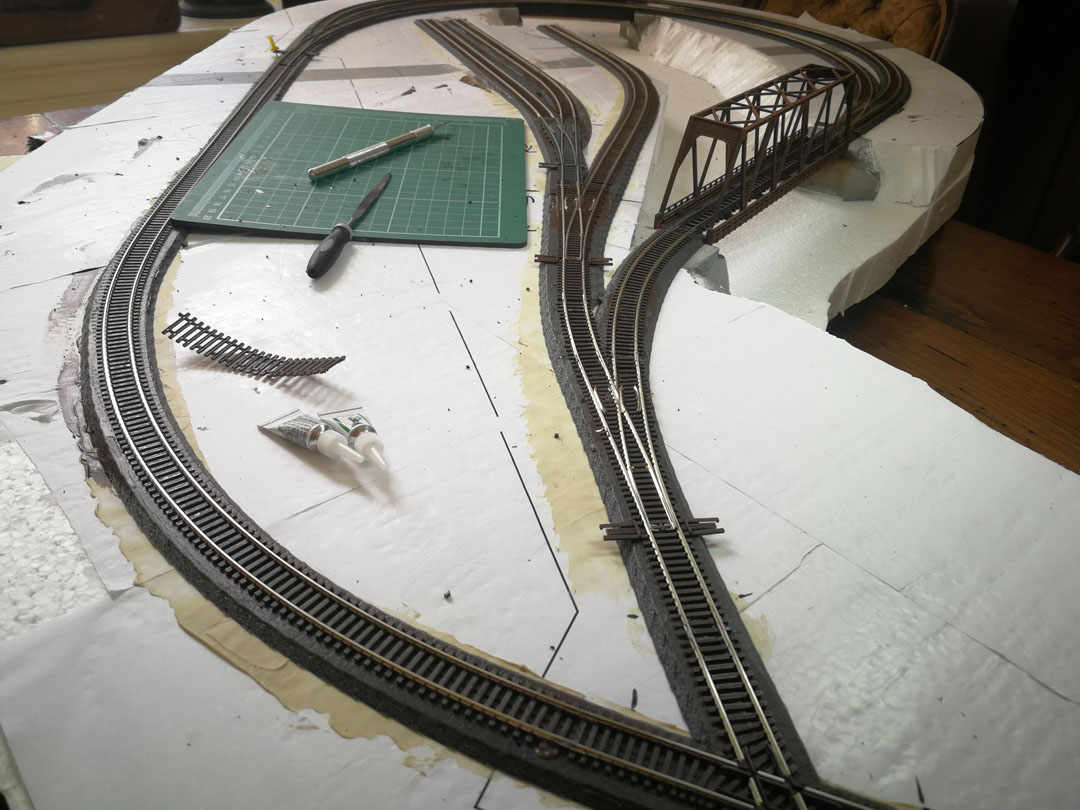
The glue to cured for 24 hours before I installed the track work. I assembled turnouts on my workbench as I didn’t want my final connection points to be on a curve or against the leading/trailing points. I started laying track at the crossover and worked outwards in a radial pattern; the last track joins were made on the back straightaways.
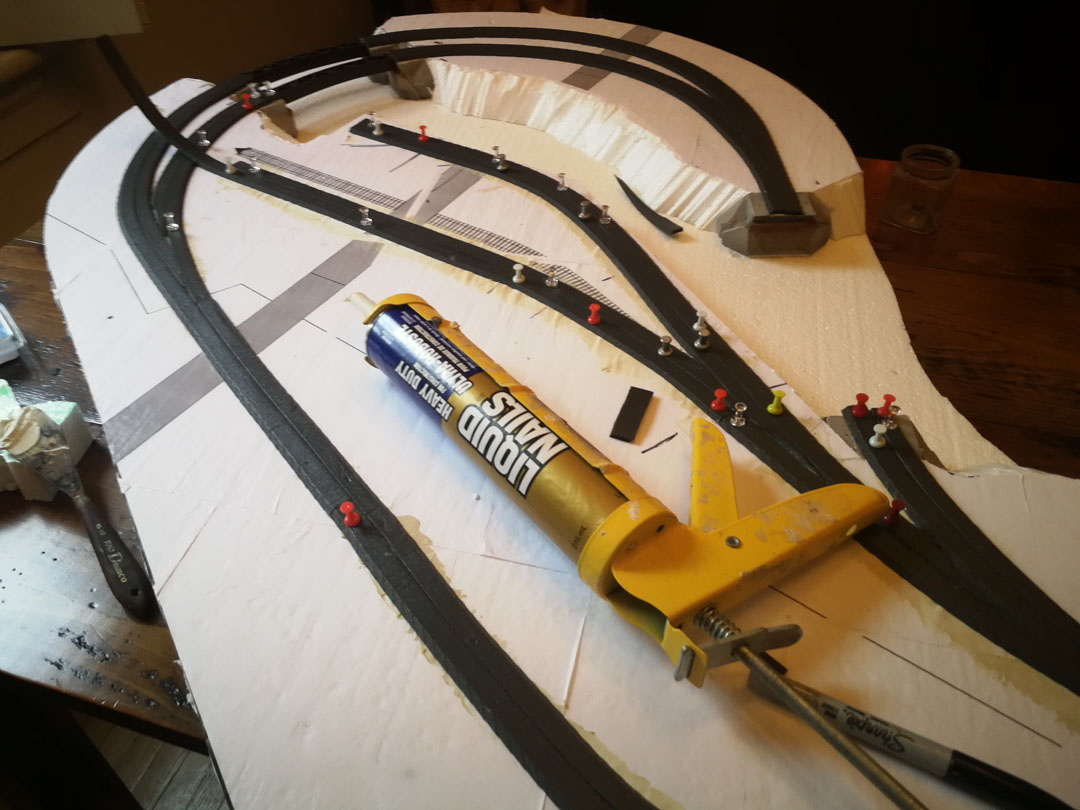
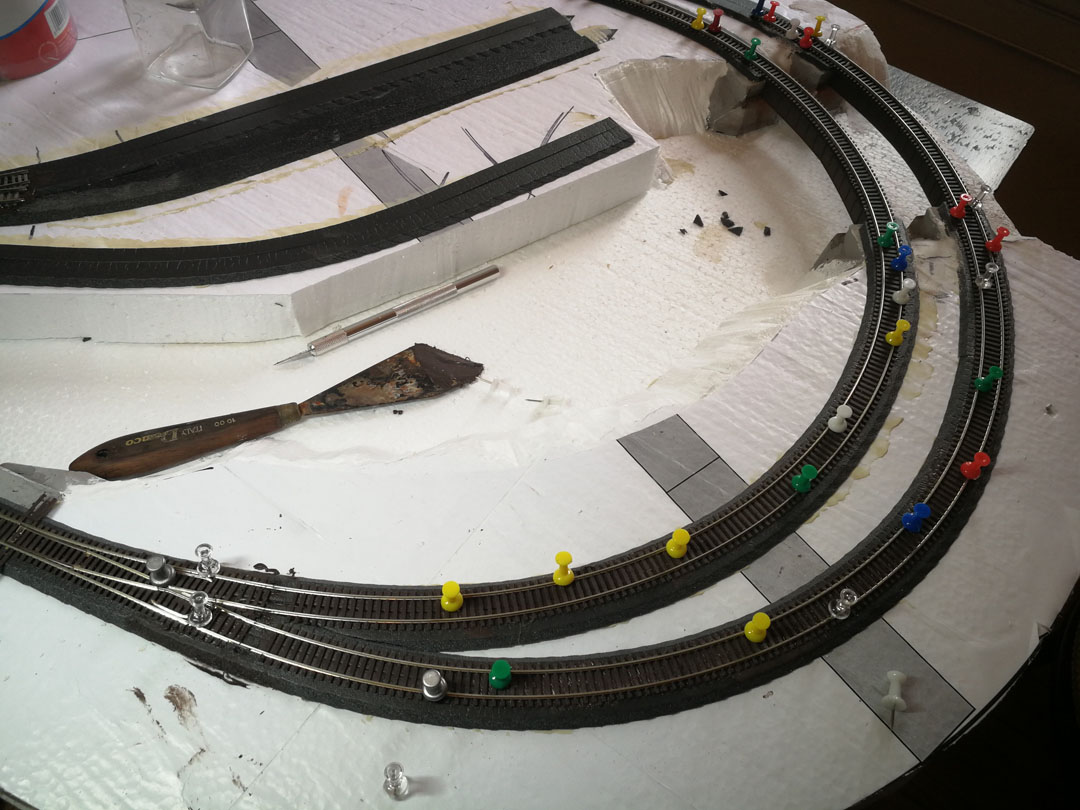
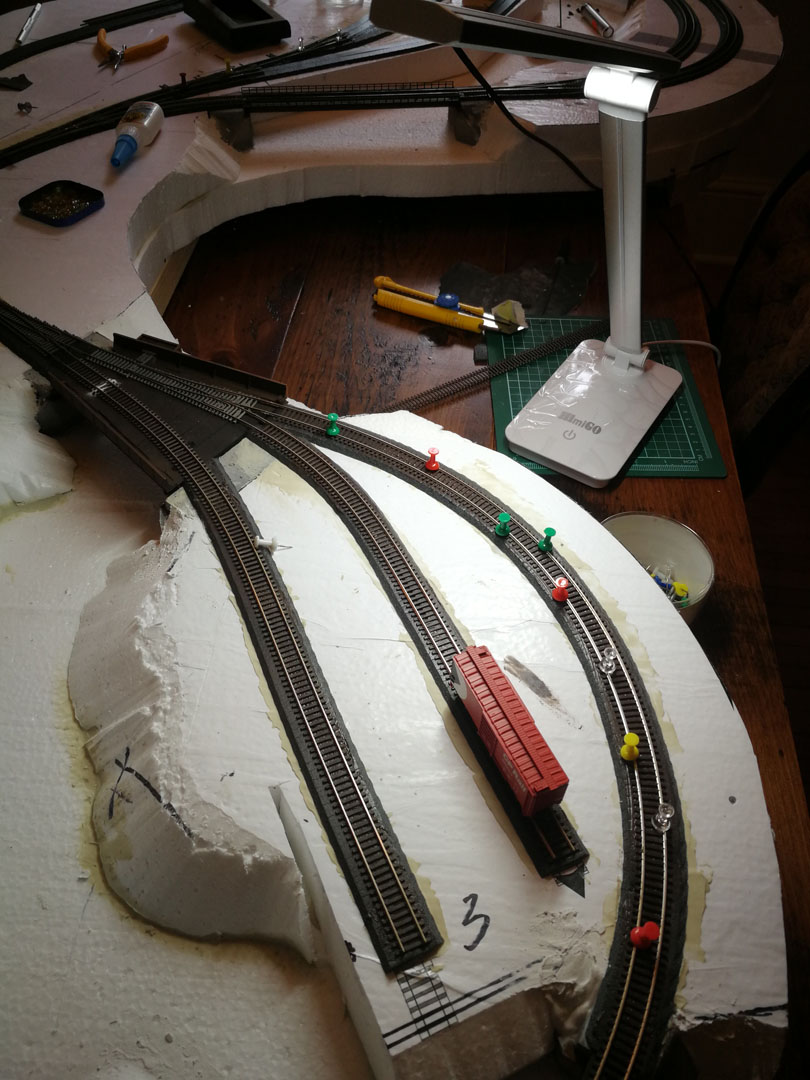
I adhered track using a brown latex caulking. I applied a very thin coat of the caulking atop the roadbed and carefully pressed the track into the adhesive. Lots of push pins secured the rails and maintained the radii. Brown caulking works well as if it pushes up between the ties, it’s less noticeable than using coloured adhesives. Because I applied a thin coat, the drying times were between 30 and 60 minutes and allowed me to move between different sections as each part set.
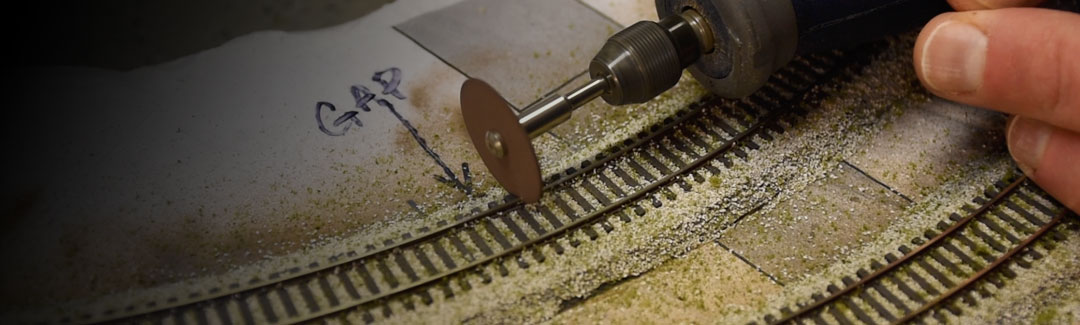
I will be cutting rail gaps for the passing siding and the Spurs once I have ballasted the track. I’m confident the latex adhesive works well, but I don’t want to risk cutting through a rail and a section of flex tracks springing free.
There was only one turnout that needed some minor repairs/tuning as it was damaged when I salvaged from a previous layout – the points were dirty and out of alignment.
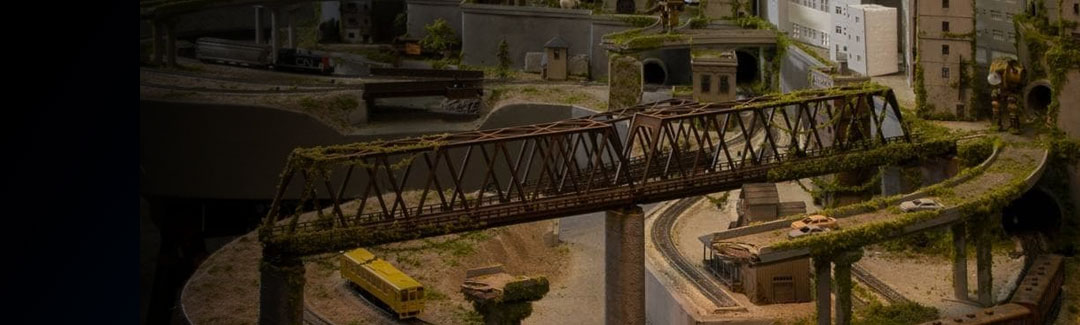
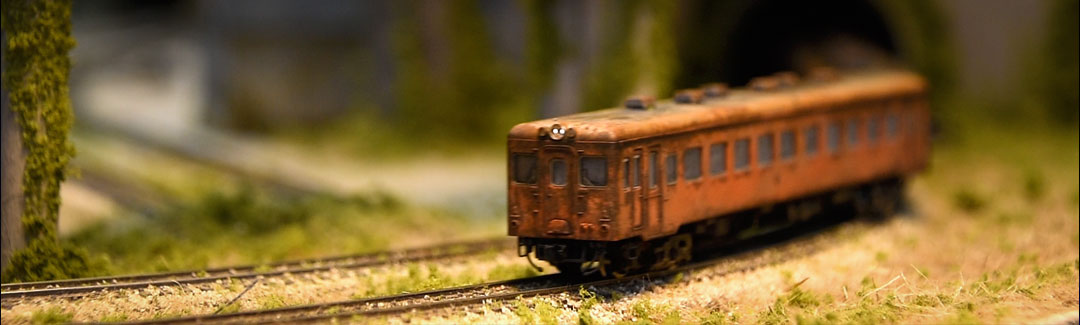
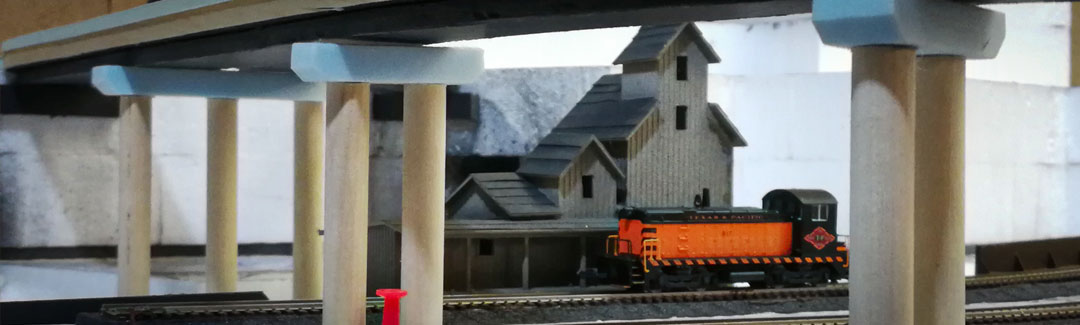
Finally, I can run some trains!


