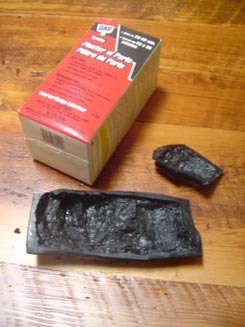
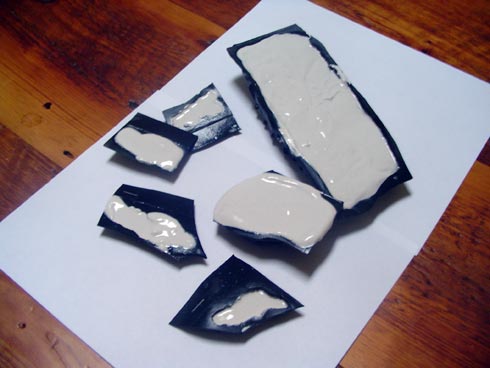
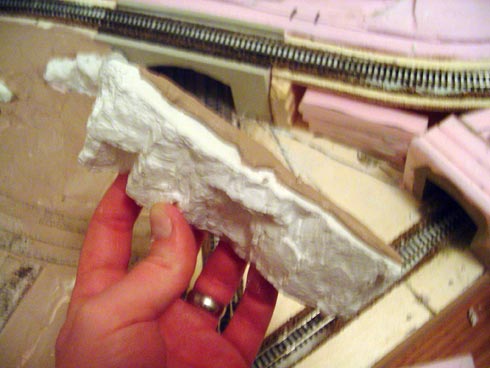
 With the majority of Styrofoam terrain established on the NES, I needed to add the rock-faces, as well as smooth out the contours of the landscape. For rocks, I used a Woodland Scenics rubber mold that I had purchased a few years ago. Rather then Hydrocal, I used standard plaster of paris for the rocks as again, it was what I had handy. Hydrocal is substantially stronger then regular plaster of paris, but as no one is going to be standing on these rocks, I wasn’t worried. Once the rock casts had completely dried in the molds, I removed them and cut them to fit into the contours of the foam scenery.
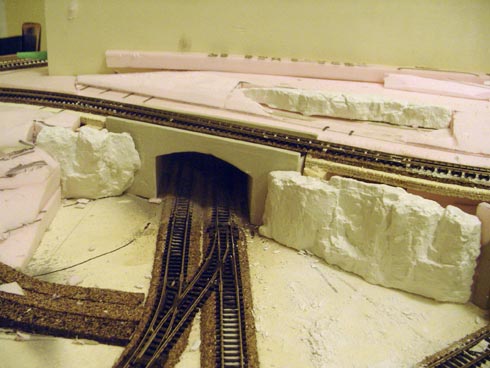
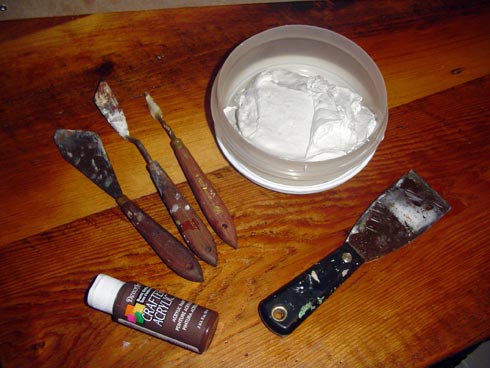
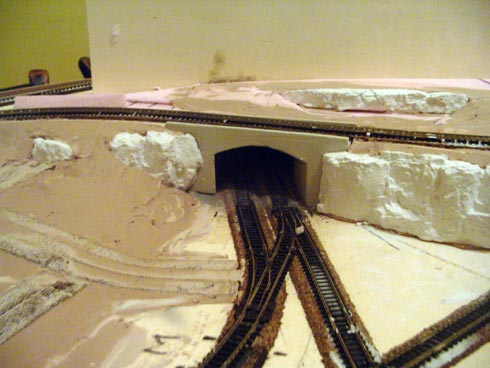
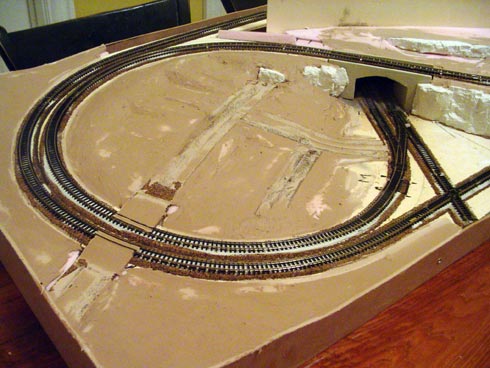
With the rocks ready for installation, I smoothed the landscape with a coat of tinted drywall mud. Typically, most people would generally skim-coat they landscape with plaster, but again, I had two pails of drywall compound handy from our ever-ongoing house renovations. As well, drywall mud needs at least 24 hours to dry, which allows for a much greater working time, and isn’t as messy as plaster.
I mixed in some cheap brown craft paint to cut the whiteness of the mud, as well as ensure that later when drilled, the dust created would be tinted and not stark white.
I applied coats of mud to the underside of the rocks, and pressed them into each of their respective locations, and then smoothed around them with a small trowel. In about 20 minutes, I had completely coated the layout with drywall mud ‘ what a difference!
One thought on “Rocks and Mud”
Christian says:
I agree with the mud….
but buying plaster and a special mold for making rocks. Can’t you simply go look for some rocks that look like that and add some plaster or glue…. whatever… and fill in all the cracks. Then you get that real look to it!
I don’t know.