
 I’ve spent the last few weeks working on ways to make decent looking evergreens using scrub pads and bamboo skewers. There have been a number of articles outlining how to make trees using similar materials such as floor buffing pads, furnace filters etc., and the technique for each is virtually the same, but the product isn’t necessarily realistic. While a ‘green cone’ may remind us of a tree, it doesn’t mean it looks like one.
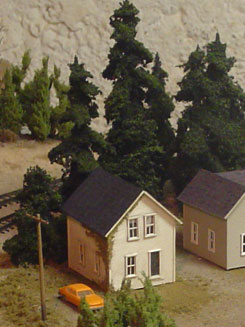
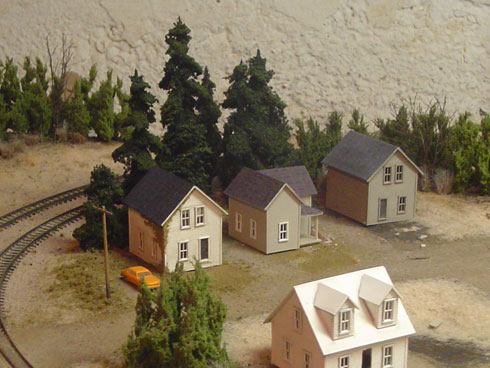
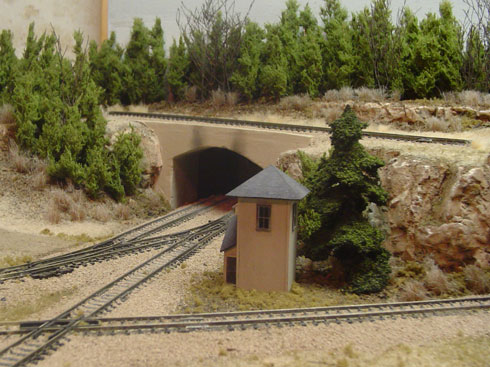
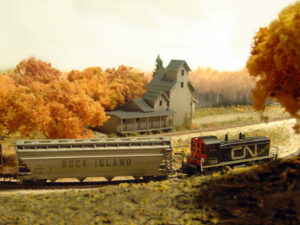
I’ve been fortunate enough to come across a few articles in the recent while outlining the importance of trying to capture the overall shape of a tree – too often we are content to put branches on a truck and declare the tree finished without actually referencing the ‘prototype’. With this in mind I set out to try to create a fairly reasonable facsimile of a black spruce.
(The black spruce is a tall, narrow evergreen tree common in Ontario. At the turn of the century they were typically planted in rows on farms to create wind-blocks, and are one of the tallest evergreen species found in southwestern Ontario. They are typified by their sparse drooping boughs and dark colour)
I came up with the following technique and managed to manufacture some fairly decent looking trees. Critically speaking, they are too dense and should be more airy, however I’m quite happy with their overall look, as well as their cost, less then 2 cent a piece!
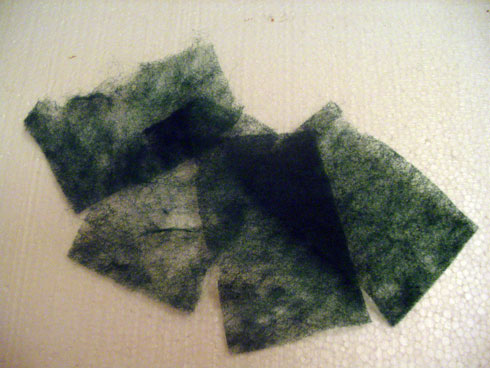
I first started by separating a green kitchen scrub pad into 4-plys. Peeling the pad apart in easy the first time, but does take some additional care for the second pass.
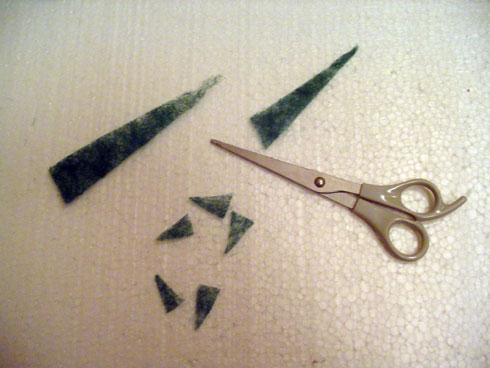
I next cut out a long triangle from pad, roughly 1″ wide at the base, and then cut this into a series of successively smaller triangles.
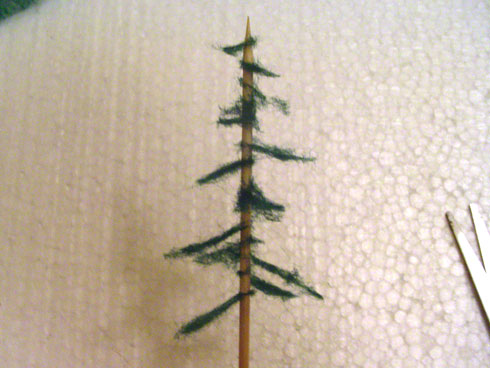
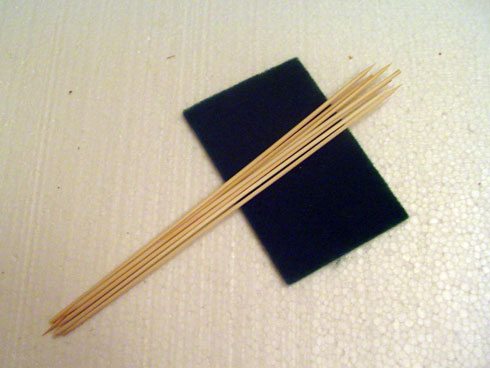
I teased out the largest end of each triangle with my fingers to remove the visible corners, and then pushed each of the triangles onto the bamboo skewer, turning the skewer 90 degrees each time I added a triangle.
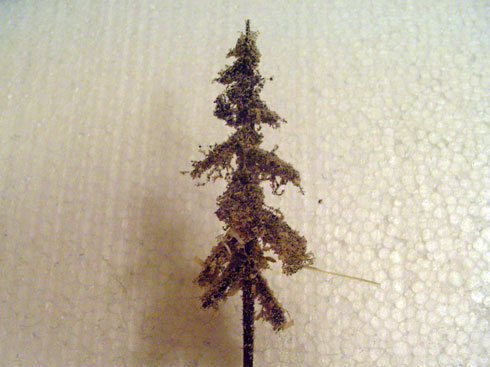
I coated all the boughs and the trunk with black spray paint and then liberally applied some sawdust. I stood the tree upright in a block of foam and adjusted the boughs as necessary. I let the tree dry for 15 minutes. (This is important as if you move to the next step before the tree has dried the weight of the paint/sawdust/foam will cause the boughs to sag too much and adhere to the trunk
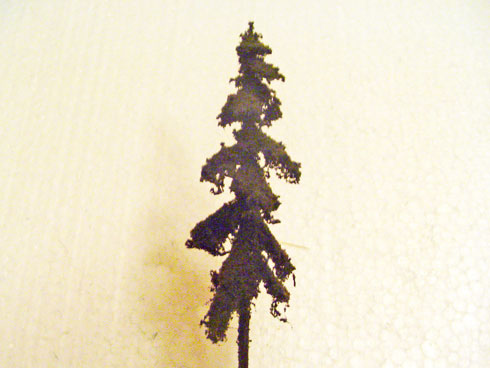
I finished the tree by adding a second coat of black spray paint and then a dusting of green-grass fine ground foam. I over sprayed the entire tree with a bit more black paint to dull the colour a bit and then added one last sprinkle of ground foam ‘ from directly above the tree ‘ creating some highlights.
Once the tree was completely dry, I cut the trunk to the appropriate length using side cutters, and planted it using an awl.
0 thoughts on “Spruce Trees from Scrub Pads”
Wayne Woodland says:
Hi Michael;
Found your site through a comment post on Scott,s Bayside and Tidewater blog. You sure have a neat looking site. I had a quick look around and will come back often to visit. I have a blogsite as well if your intrested in taking a quick look. There is a link on Scott’s blog. Cheers.
Wayne
Model Railroader says:
Thanks Wayne – added your site to my blogroll!
Scott says:
Ha! Hi Wayne and Michael!
Great looking trees Michael! I do something similar with the furnace filter. The best thing is to not make them too uniform and regular – especially for black spruce which usually have a few sparse branches lower down the trunk and a clump near the top.
Scott
scott says:
nice trees, here is a tech to make really large blue spruce, go to a craft store and buy casparia that is dries, pick off the stems with the dried flower at the ends left on and dip in matt medium and sprinkle with fine foam, when dried spray with revlon hair spray so as to flock the weak or missed areas, when dry respray. now get a pice of 3/8 balsa wood a sand to be round then taper the tip and now take a coarse file and run up and down all side of the trunk to give it a rough look, now decide the lowest level you want branches and make a small whole and glue the branch in place with goo glue and work around clock wise or counter clock wise, when done mover up to the next level making it shorter and continue on up, i have make many of these it took me 18 hours of work to make one tree but it looks real and you will need approximately 290 holes so that mean 290 branches for a 12 inch tree
evergreen tree care says:
We loved your writing style, please do keep putting out more content like this!
Christian says:
dot dot dot dot….
THANK YOUUUUUUUUUU!!!!!
You know long I’ve been looking how to make pine trees without buying ’em!!!???!!!
FOREVER
And you just made my day a lot better