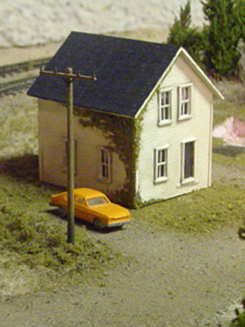
 Weathering is a facet of model railroading that I have never really explored. My only experience with weathering was over-spraying a water tower with white paint when I was 12. I have read many articles on weathering published in the MR press, and browsed countless websites and forums researching the topic. This research has revealed that there is many ways to apply weathering, and there is no ‘right’ way; simply a multitude of different techniques that are employed because they are the preferred method of each individual modeler who has learned to control the results of their unique process, and are comfortable working with a method that produces predictable outcome. I also discovered that weathering is a hobby within a hobby. The same way that there are modelers who focus their attention on operations, prototype modeling, rolling stock, structures etc., there are modelers who enjoy super-detailing and weathering buildings.
I’m not one of those people.
My preference is scenery construction and I consider structures part of the overall layout – not models within a model. Therefore, I simply wanted to find a way to kill the shine, dull the colour, and allow my structures to blend into their surroundings. The answer was in a simple India ink / alcohol wash.
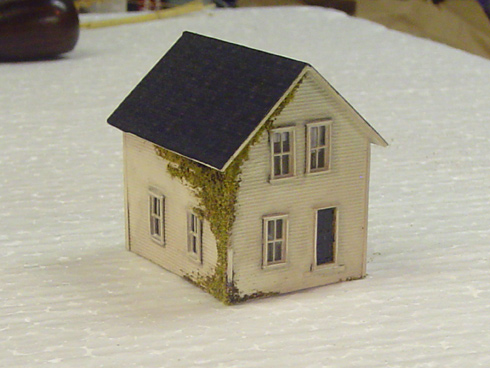
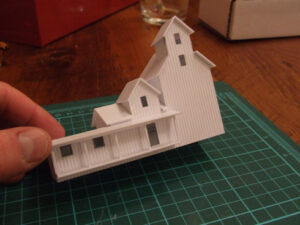
I mixed 6 drops of India ink with 1/2 cup of rubbing alcohol to create a dirty wash, and using a soft brush, I applied an even coat of the wash to the entire structure. I found that in places the wash seemed to be ‘resisted’ by an oily residue – perhaps from a fingerprint. In those spots I scrubbed the spot with the paintbrush and the spot disappeared. As the structure began to dry, it became apparent that the wash was too strong, and as it was starting to pick out the flaws as well as the details. Using a cotton swab, I gently wiped away the majority of the ink, and soaked up as much wash as possible from the imperfections. The entire process only took a few minutes, and when I was finished the structure had a dulled, dirty appearance that I was happy with.
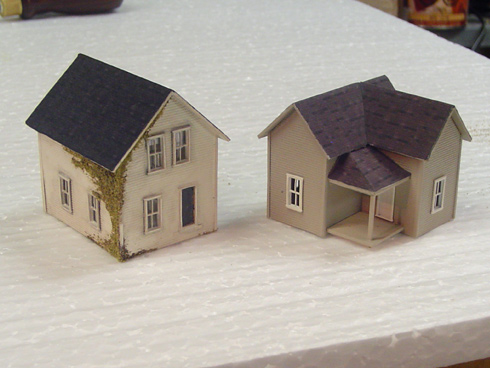
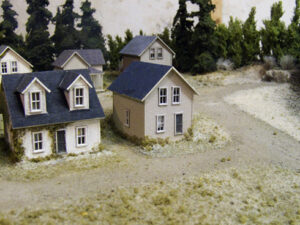
I wasn’t happy with how pronounced one of the corner seams was, so as soon as the wash was dry I dabbed some white glue onto the seam and the area below the soffits and sprinkled on some ground foam to create ivy. While the glue was drying I divided my time between adding some more paper shingles to another one of the structure as well as cutting some acetate sheets and bond paper to create window glazing and blinds. Once the ivy had dried I glued the acetate to the inside of the walls, as well as the blinds, and gave the entire structure a final misting of matte spray.
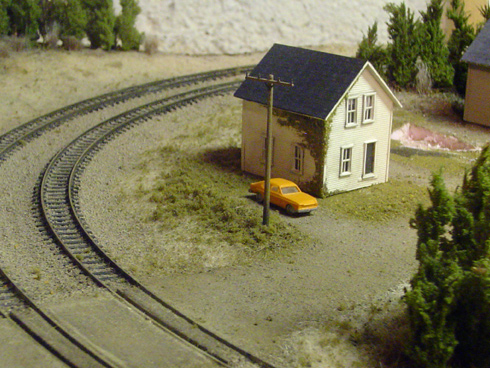
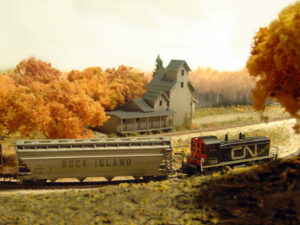
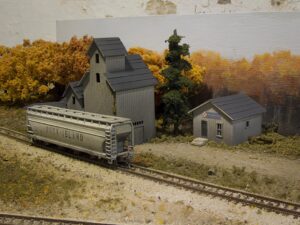
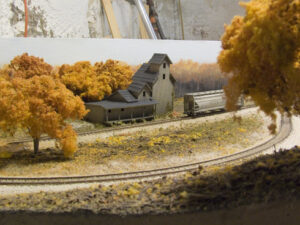
Overall I’m quite happy with the building and the weathering effect. The structure itself is very simple, and has its flaws, but it does the job and at a glance blends into the layout nicely. Only four more houses to go!
0 thoughts on “Weathering and Details”
Scott says:
Great work! Ivy can cover a lot of mistakes. Ha!
Scott
Model Railroader says:
Agreed! However it does look a little out of place on engines or boxcars…
Flash says:
Nice job. Weathering covers a lot of kit flaws. If you look around. Nothing in real life is clean outside (for very long).I found that just a little weathering goes a long way.I start very light and do another coat if needed. The ivy is great, I would call it a detail tho as it adds charecter to your building and would be considered the same as a tree on layout to me. Love the affect.