It’s been a while since my last post – life is good, but VERY busy!
I mentioned in an earlier post that I had been struggling with roads – I didn’t want them to appear as an afterthought. In many cases, roads seem to be ‘eyeballed’ into place with little regard for the landscape topography, and are oftentimes given a lesser purpose then they deserve. I’ve decided to build the WGR’s roads much like you might lay track, building the shoulders and hardtop first, and then defining the scenery around them.
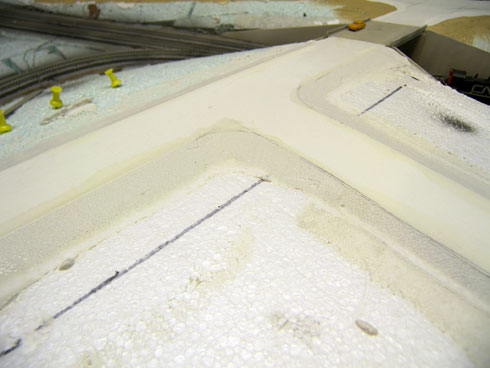
I decided to use foamcore as my road-base as it would elevate the road three scale feet and allow me to build properly sloping shoulders. I was surprised to find that after factoring in shoulders, lane widths etc., that roadways are much wider then imagined. I’m modeling a 2-lane highway and the width is equal to many 4-lane models!
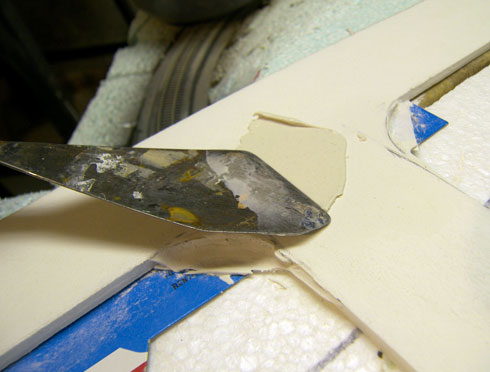
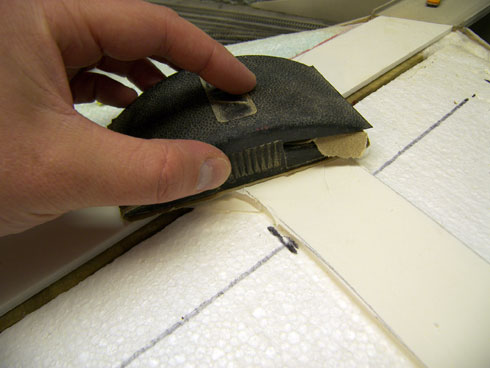
After securing the foamcore to the baseboard with hot glue, I filled in all the seams with successive light coats of drywall mud (spackle) – sanding between coats. You need to be careful when sanding as you risk ‘pilling’ the paper surface of the foamcore.
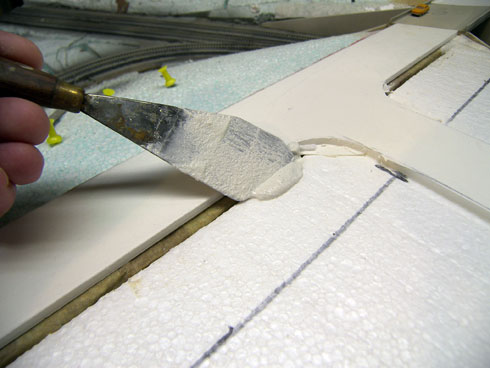
Once the spackle had dried I built up the shoulders around the road using white sanded grout. I’ve never used grout as a scenery material before and I’m already thinking I should have used a coloured grout as I risk churning up white dust if I need to drill through the shoulders. That being said, I’m quite pleased how the results turned out. The texture is a little course for gravel shoulders, but I’d rather have the texture too course than too fine. As well, a few coats of paint should help smooth the surface somewhat.
I’m interested in using grout more throughout the layout as it allows you to work slowly and creates a fairly hard surface – albeit somewhat brittle. I’m not convinced that it adhered well to the foam, but the addition of some adhesive to the mix may remedy this.

0 thoughts on “Foam Roads”
Jim Lowe says:
Hi Micheal,
I came across your website today while doing some searches on google and I was pleasantly surprised. Your work is excellent and I look forward to following your future posts.
This post caught my eye since about this time last year I also tried my hand at building roads with foamcore (some pictures can be seen near the bottom of this posting: http://30squaresofontario.blogspot.com/search/label/Layout). Once the foamcore was bonded to the layout board, I glued a layer of watercolour paper on top to attempt to give a mildly textured surface to the road. Although, after painting and lining was finished it looked passible, I wouldn’t try this again – it was very tricky to get the paper to bond evenly and without creases or bubbles. I too was surprised at how wide roads turn out to be when one gives them dimensions to match their real-life counterparts.
Cheers,
Jim.
Scott Perry says:
Hey! Glad to see another post! How about a favor? On your sidebar how about putting a brief description of your railroad and a link to a track plan so that we can see it?
Ger Johnston says:
Michael,
That’s an interesting thought to use grout. It made me think about a product I’ve used a few times that is equally “off the wall.” A couple years ago I worked for a building supply place that sold synthetic stucco and/or EIFS to contractors. One of the most well know brand names is Dryvit although I worked for a Sto dealer. The final layer is like a paint with aggregate mixed into it. It comes in different textures, sticks like paint (not grout) and sets very hard. I’ve used the coarse for gloppy ground and the smooth (or “Freeform”) for pavement. The problem is that it is normally sold in 5 gallon pails. The company I worked for also did half gallon samples which would be more reasonable for the modeler. If no samplers, maybe you could find a contractor that had some left over. I’ll be watching for updates to see if you try it.
O scale says:
wow. your effort for this project is great. i hope you can post the finished model trains that your working on.
Steve Cox says:
Hi Michael,
It’s been a while. Good to see you posting again.
Where are you located? I live in Oakville Ontario now.
Cheers,
Steve
Sam says:
It has been a long while since your last post.
Would love to see how it turned out.
Thanks for all the tutorials they are very, very good.