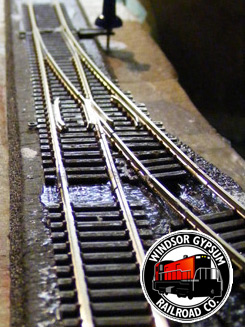
 Since my last post, progress has slowed significantly. Outside of the regular day to day distractions, I’ve had to do a great deal of thinking about how I will proceed with several aspects of the layout. Firstly, I’ve had to consider how I am going to control the turnouts, and I’ve been working on creating a remotely controlled switch machine using small SPST slide switches, aircraft cable and gas-line tubing. (A post to follow on this – I promise!)
Second, I’ve been deciding where to start laying track as this will dictate where I finish – I don’t want to get caught trying to make the last join on a curved grade at the throat of the yard.
Finally, I’ve been using some 1:1 paper turnouts to continually test my track configuration. I’m not entirely happy with the length of the run-around track – about 4+ cars – but operationally it doesn’t have a huge impact, and other configurations tend to undermine the overall ‘look’ I’m trying to achieve.
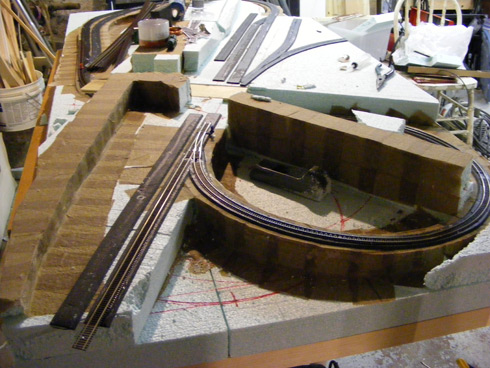
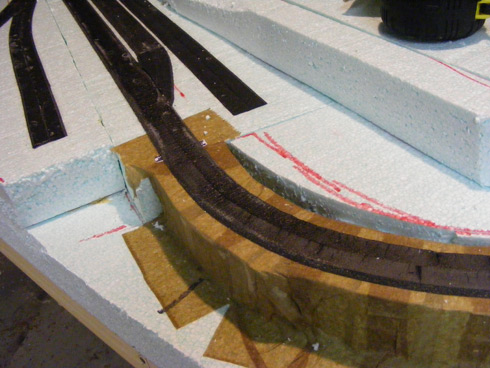
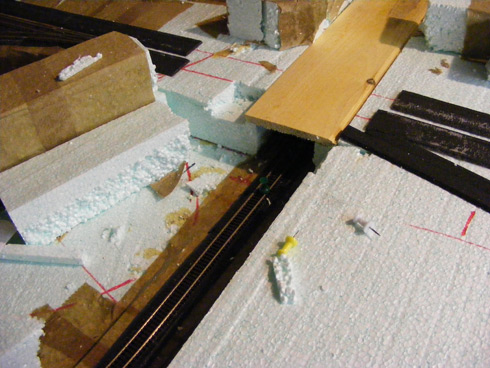
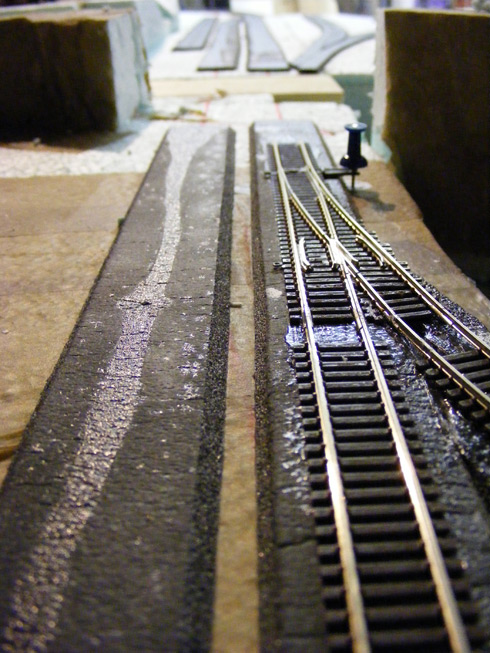
That being said, I have managed to install 95% of the roadbed and started to lay some track. I opted to give the Woodland Scenics roadbed another try – despite having difficulties with it the first go ’round. The big factor here was cost – it cost me $6.00 for the foam roadbed whereas cork would have cost me $30.00, therefore, the foam was the obvious choice.
I glued the foam to the baseboard using slightly thinned white glue – brushing a wide swath of glue over the centreline of the track. I pinned the roadbed in place using push-pins, and once satisfied with the positioning, a brushed some additional glue along the shoulders of the roadbed for good measure. I’m not convinced that white glue is going to offer the same adhesion strength that adhesives like PL300 provide, but I didn’t want to have to carefully smooth beads of glue with a trowel in order to get an even surface – the high viscosity of PL300 and the like require all lumps to be smoothed out, otherwise, they will create bumps in the roadbed – a noticeable imperfection in n scale. Once the ballast is glued in place I’m confident things will stay put.
As for the track – my first impression of the Atlas’ Code 55 is good – nice to work with and great looking. More on that later.

0 thoughts on “Roadbed and Track”
David Kennedy says:
I have been lurking for a while, and am very impressed with the quality of your work and the thought that you put into your processes.
I notice that you split your foam roadbed for curves. I plan to work with cork, but I didn’t realize that the foam was supposed to be split for the curves. For some reason, I figure that this was just one of the benefits of cork. Do you just cut it by hand with a hobby knife? Given the price difference, I might consider foam roadbed.
Do you hand-cut and lay the foam under turnouts, or are you using pre-moulded turnout roadbed?
Model Railroader says:
Thanks for the kind words! The foam roadbed is meant to be split – and has been precut. All you need to do is tear it in half! As for under the turnouts, I had glued some paper turnout templates onto the baseboard and simply followed their contours with the roadbed. I’m not too worried about making them perfect as ballast will cover everything.
Greyryder says:
That code 55 track looks better than I thought. I’m currently stuck with Atlas code 80.
On my own layout, I use slide switches and piano wire to throw my turnouts. For the most part, I use thin piano wire, running through brass tubes.
Model Railroader says:
Greyryder – Thanks, I’m pretty happy with the C55. I didn’t understand what all the hype was about but the size difference does change the appearance noticeably. The issue I’m having with the turnout controls is that the foam base is to thick to mount controllers on the bottom of the layout, and mounting them near the surface requires a flexible controller cable. I think I’ve got the problem taken care of.