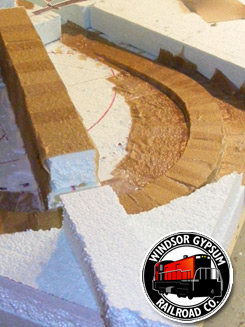
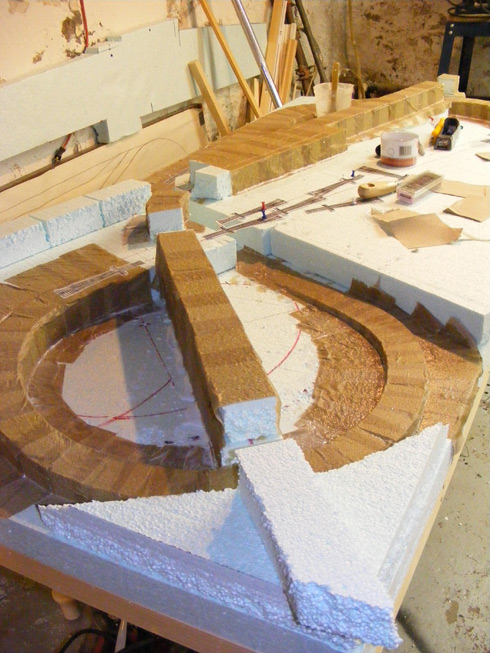
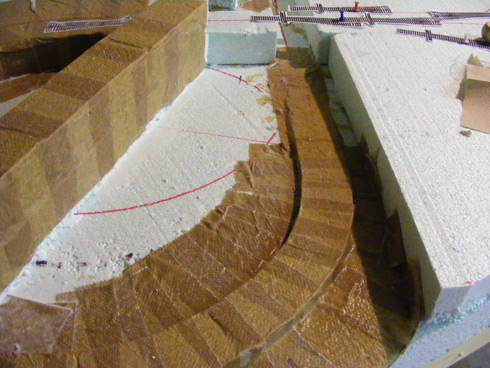
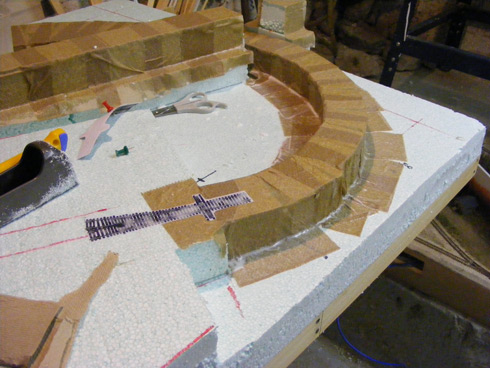
 Progress of late has been swift and I’ve almost completed all of the foam benchwork,’ including the elevations for roads and highways. It took more time to remove the old glue leftover from the false start on the previous incarnation of the WGR then it did to construct the new risers!
I read a post by another modeller detailing he too was going to attempt to use foam exclusively as benchwork material but was having difficulty making perpendicular cuts using a knife. He went on to explain how he finally discovered that his jigsaw was a far better alternative. Using his level as a fence, he guided the saw offsetting the level from the cut line the distance from the saw blade to the edge of the saw foot. Apparently the result was a ‘butter smooth’ perfectly square cut. I’m eager to try this, however as I’ve already finished the majority of the benchwork, and in my household ‘noise’ is a big issue, I’ll leave it up to others to try this technique and decide how it works.
A challenge I needed to address with the foam risers was the gaps in the curves. Woodland Scenics sells a foam-putty intended for gap filling, and using something similar such as drywall compound had crossed my mind. One of the drawbacks of the compound is that it really doesn’t stick to the foam. I had used it on the NES for gap filling and it worked well, however, I learned that I could easily peel it away from the foam, which didn’t reassure me that I really wanted to depend on it for keeping my track secure.
I opted to drape glue-soaked paper towels around the top and sides of the risers and it has worked out well. I slathered the foam with some 2:1 glue/water and then applied the strips of paper towel – brushing everything as smooth as possible as I worked. It took little time to cover all of the risers and the results are rock-solid. The paper towel fused the risers into one continuous run, and the gaps are effectively filled. While white glue won’t permanently fuse to foam, wrapping the paper towel around the sides should result in a secure bond.


0 thoughts on “Styrofoam Risers – Part Two”
Scott says:
Very neat idea! And a very neat layout so far. More please! ;^)
Scott
Bob says:
Very nice work! I’m excited to see how the WGR turns out, as it looks like things are going together very smoothly.
Part Two of my foam riser experiment didn’t go quite as well as I was planning. I got a bit “greedy” with my jig saw and ended up having to patch two mis-cut wedges together to finish mine. So far, so good though. I finished gluing everything down last night with PL300, and so now my own trials with how to fill the gaps will begin. As one of my sets of risers was double-tracked (two risers side-by-side for the entire curve), it definitely will require something on top to smooth it out nicely. I’m going to wrap them in plaster-impregnated paper towels (found them at a local art supply store and 5 bucks got me almost enough to re-plaster all the walls in my house) and on top of that, I’m going to try my luck with joint compound. I might then seal the compound with paint before gluing down my cork for the track.
Again, nice work!
Kashirigi says:
I’m at about the same stage as you in my layout now, and I filled in the gaps by laying dry plaster strips along the top (the sides weren’t an issue) then laying the wet plaster over top. Threre are a few dips, but they can easily be filled with that foam PolyFilla stuff.
It seemed to work relatively well, but I haven’t put up any pictures yet. I suspect your solution is far lighter, which may be an issue for your all-foam layout.
Jim Roberts says:
Thanks for part two. I’m going to give your method a try on my layout.
Cheers,
Jim R